Quick Start Guide
Welcome to Vobiz! This guide will walk you through the essential steps to get started with our platform.
Introduction
This guide will walk you through the basic steps to get your Vobiz account set up and ready to make and receive calls. We'll cover everything from signing up to creating your first application.
Step 1: Sign Up
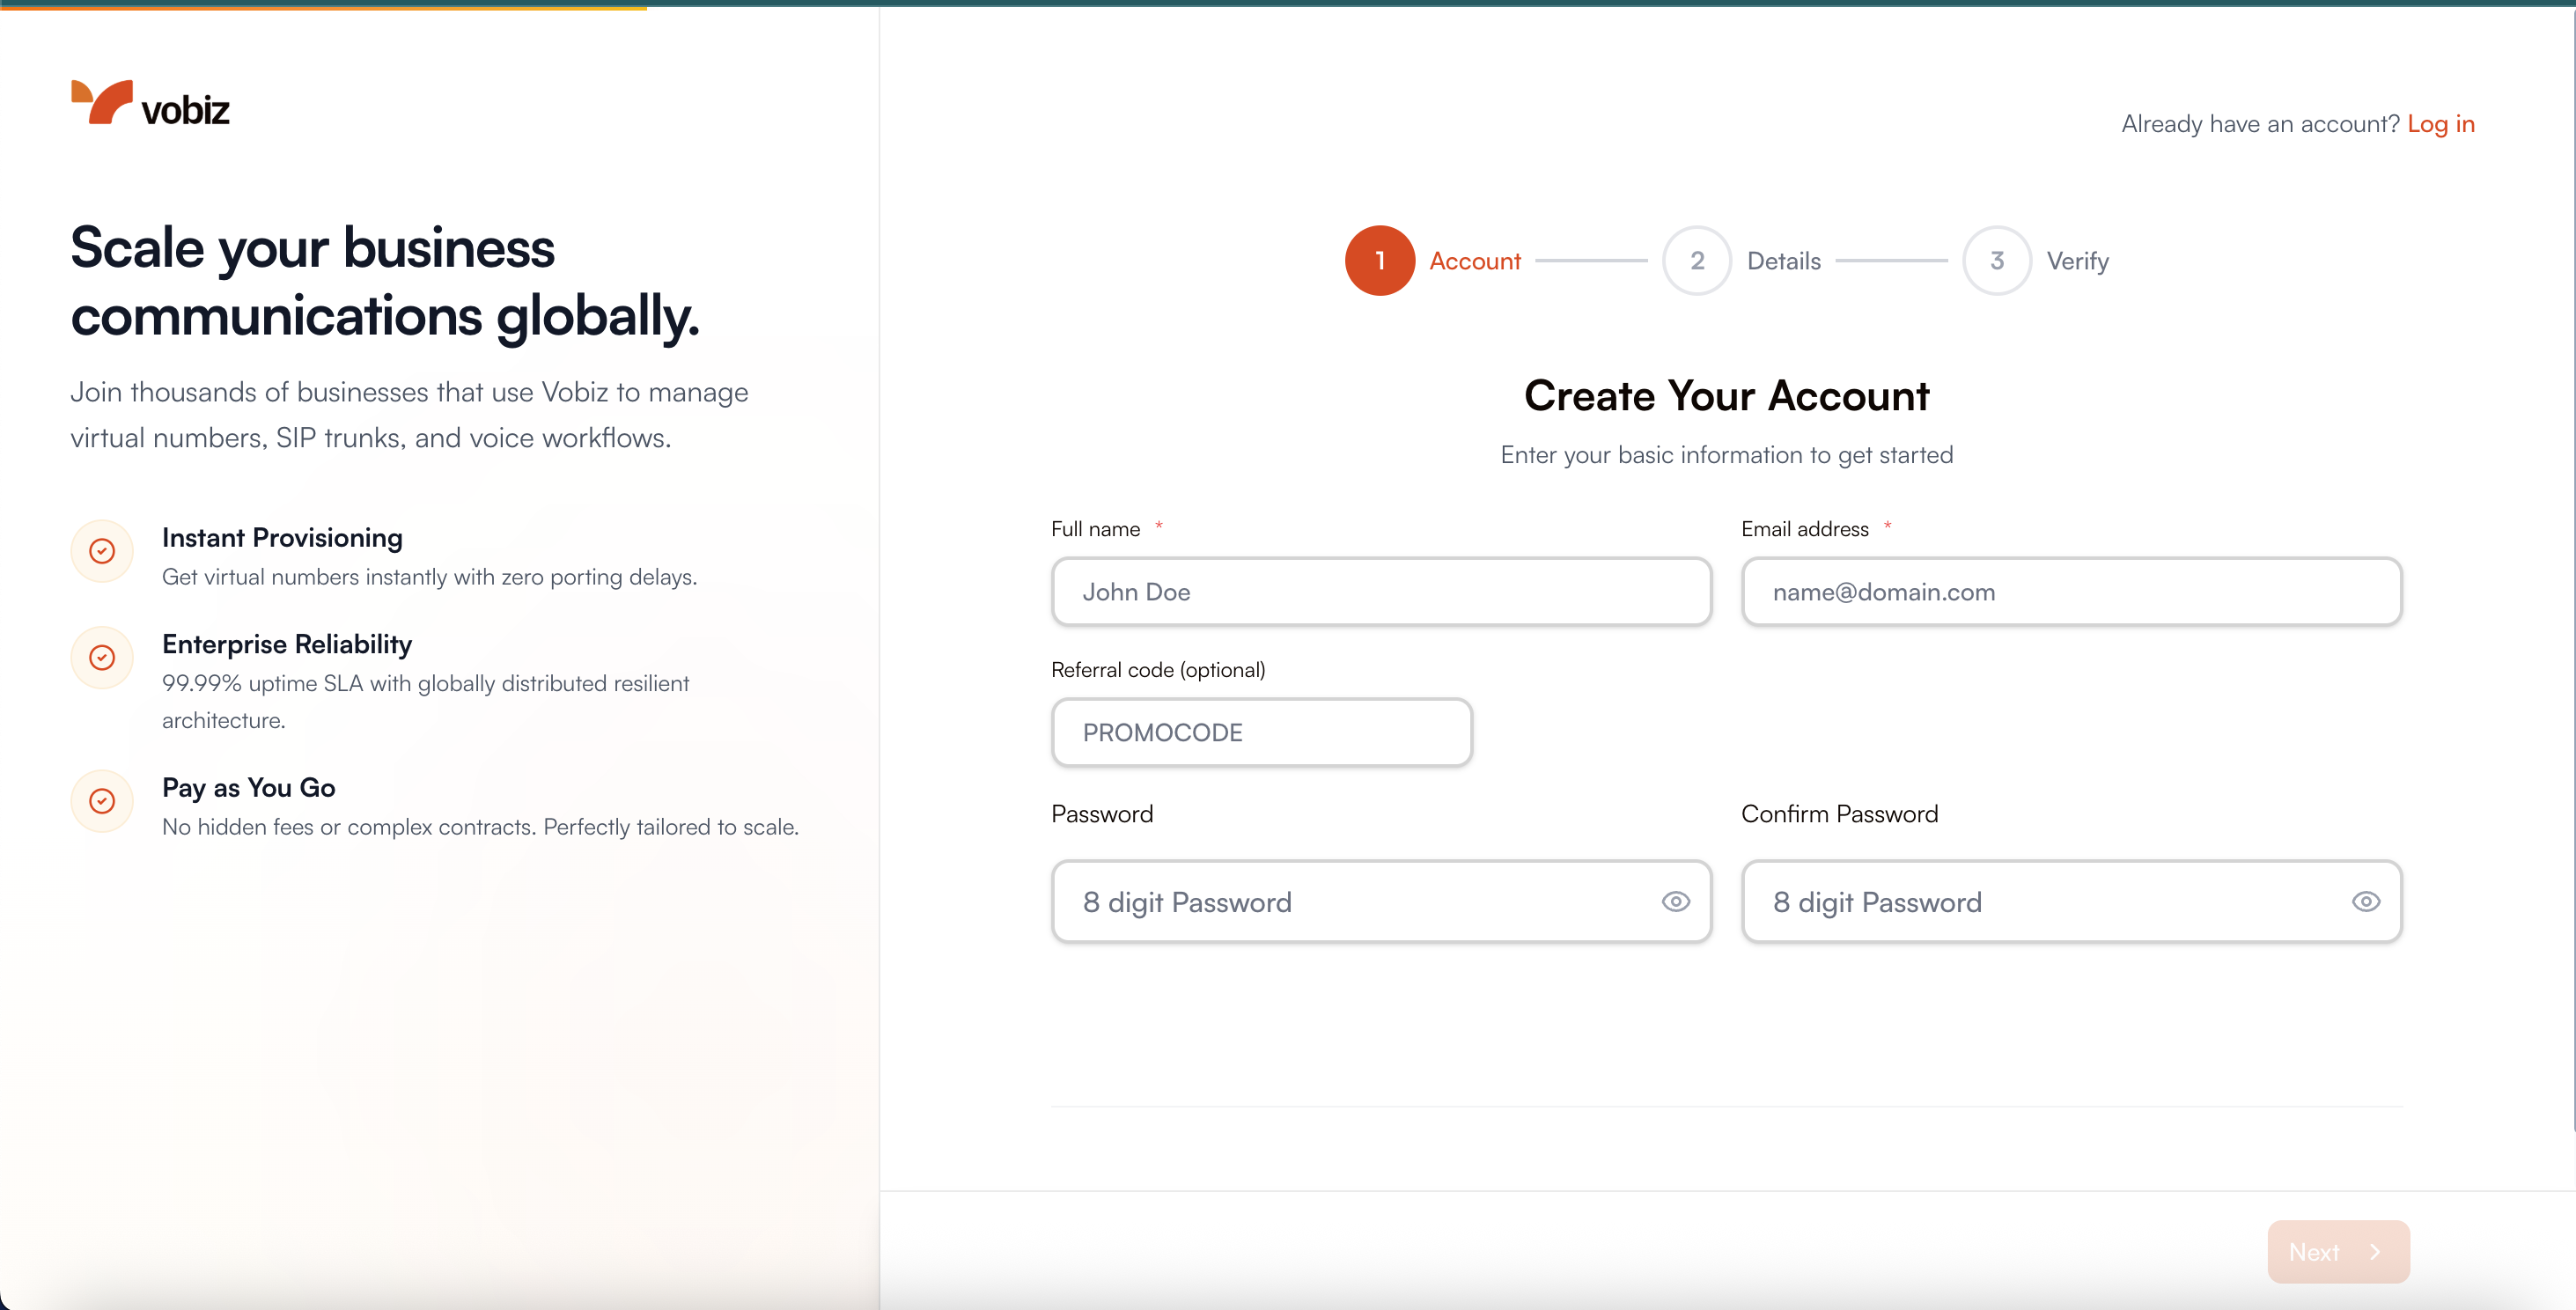
First, you'll need to create a Vobiz account. You can register for a new account at our registration page.
Step 2: Dashboard Overview
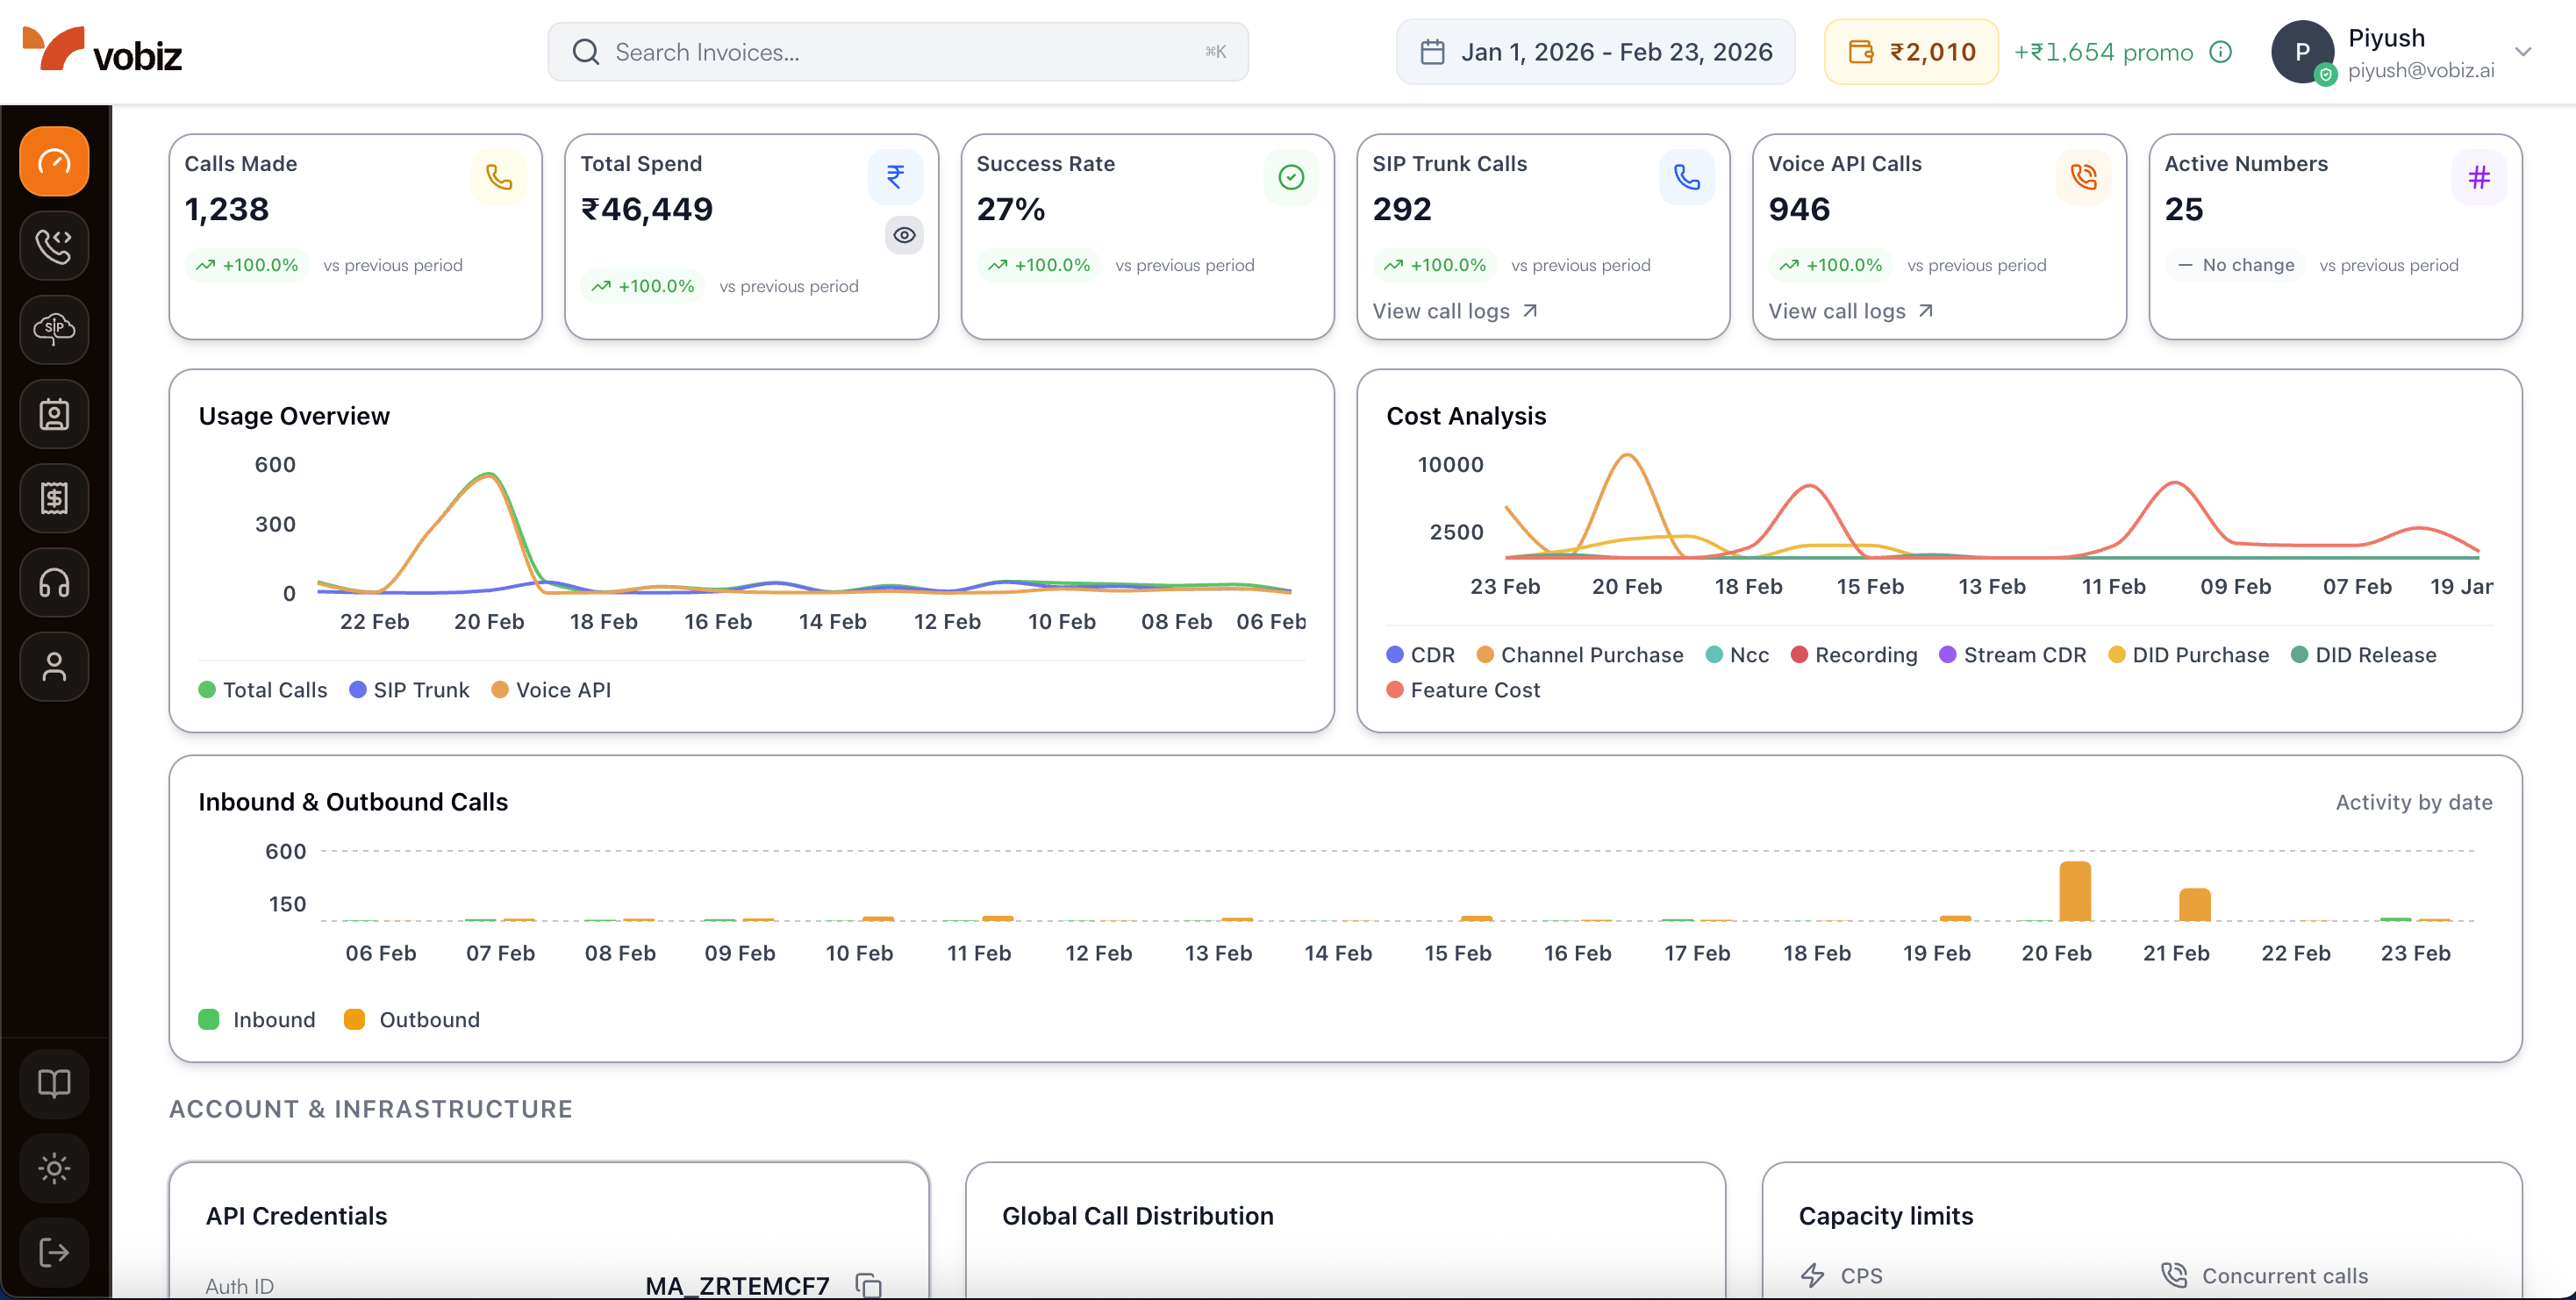
Once you've signed up, you'll be taken to your dashboard. We provide you with ₹25 in credit to get started and explore our platform features.
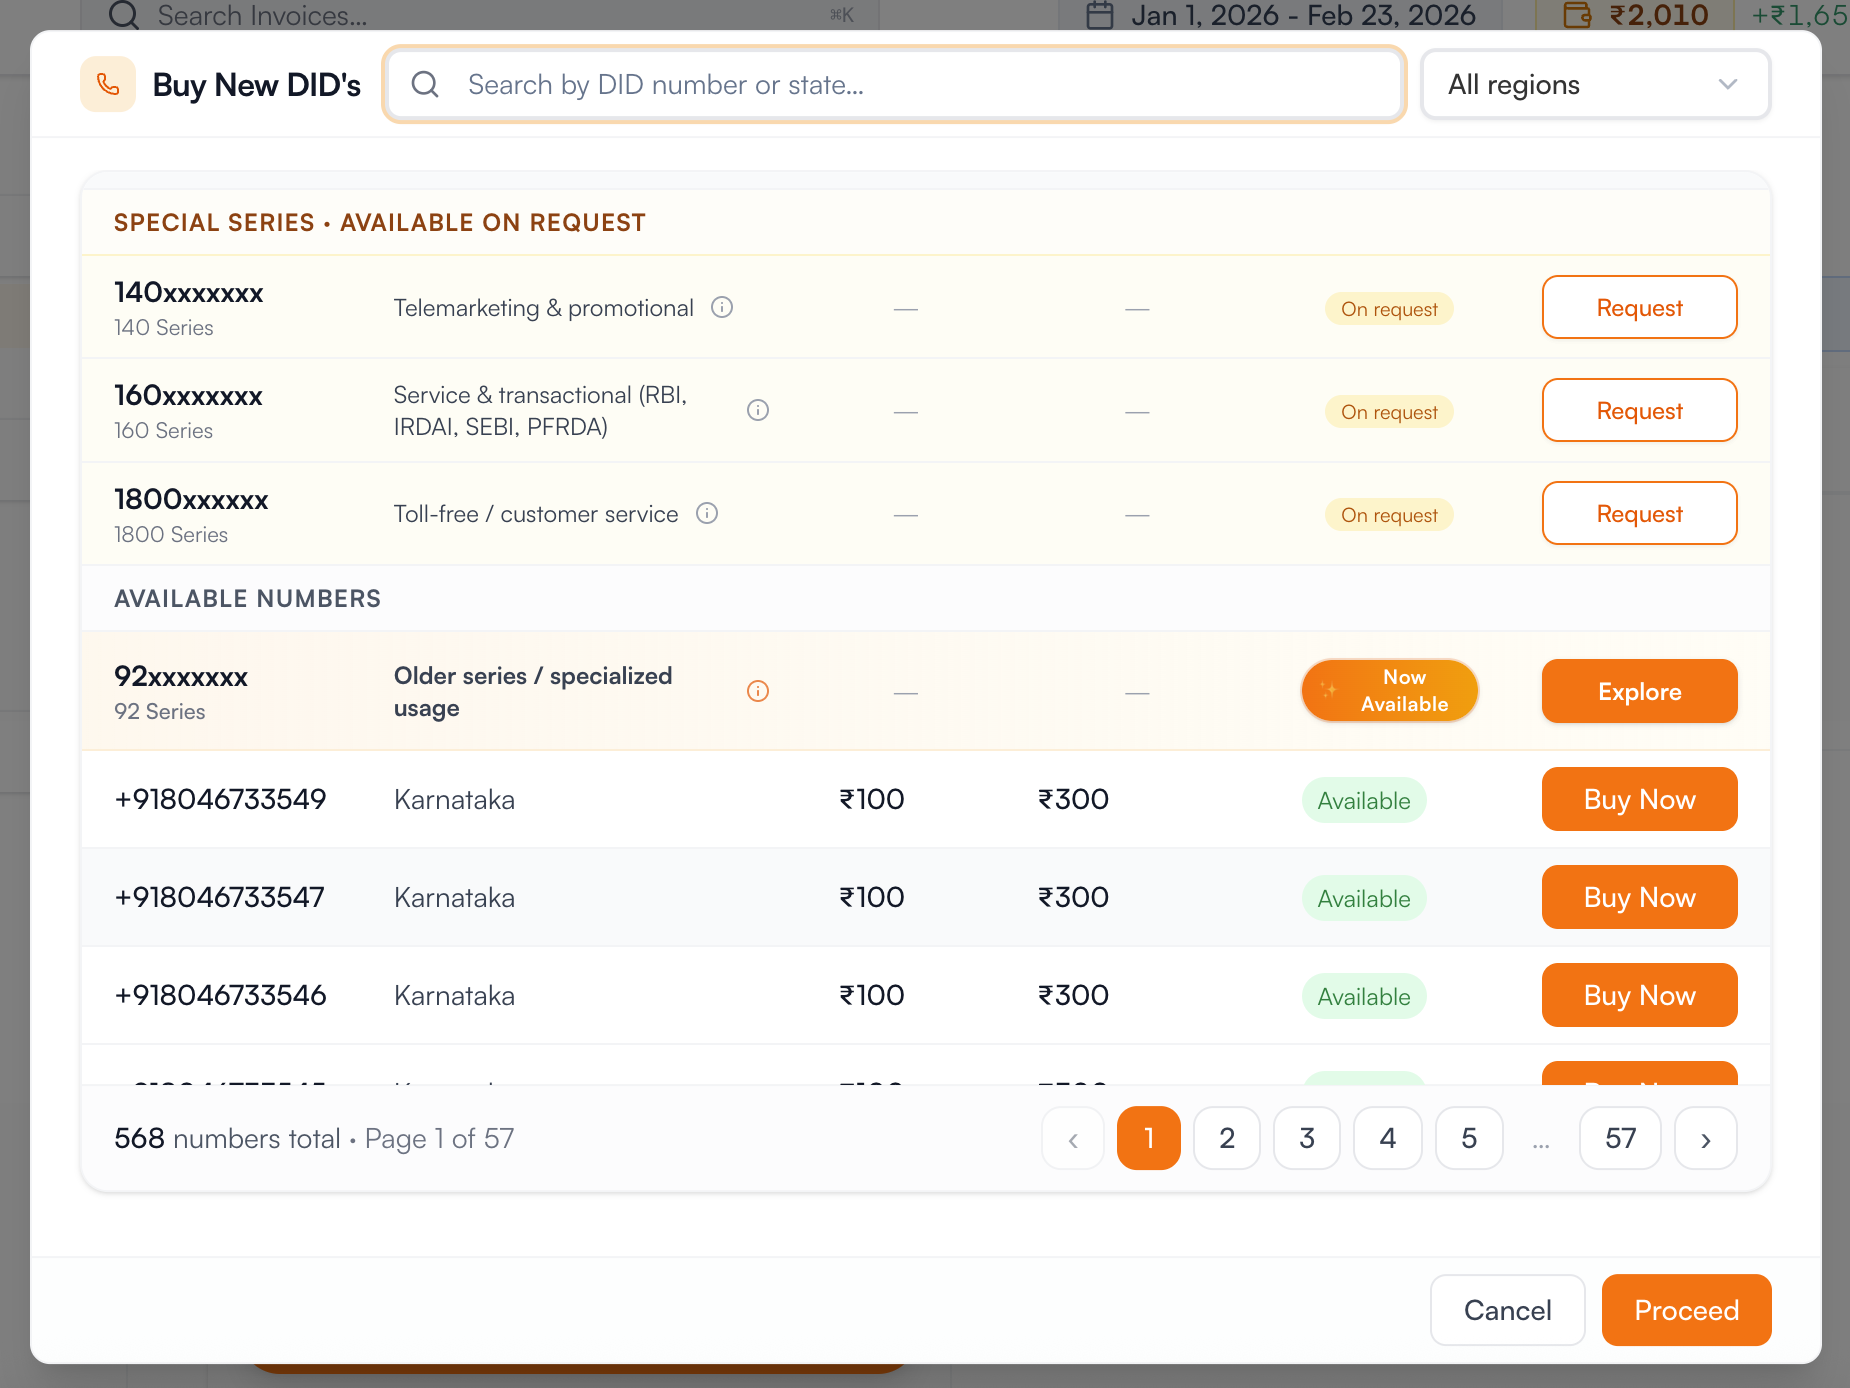
Step 3: Buy a Phone Number
You can purchase a phone number from the "DID" section of the console. You can filter numbers by region to find the perfect one for your needs.
Step 4: Create SIP Trunks
SIP trunks are essential for connecting your existing infrastructure to the Vobiz platform. Here’s how to set up both outbound and inbound trunks:
Outbound Trunks
First, create an outbound trunk. This will allow you to make calls from your Vobiz account.
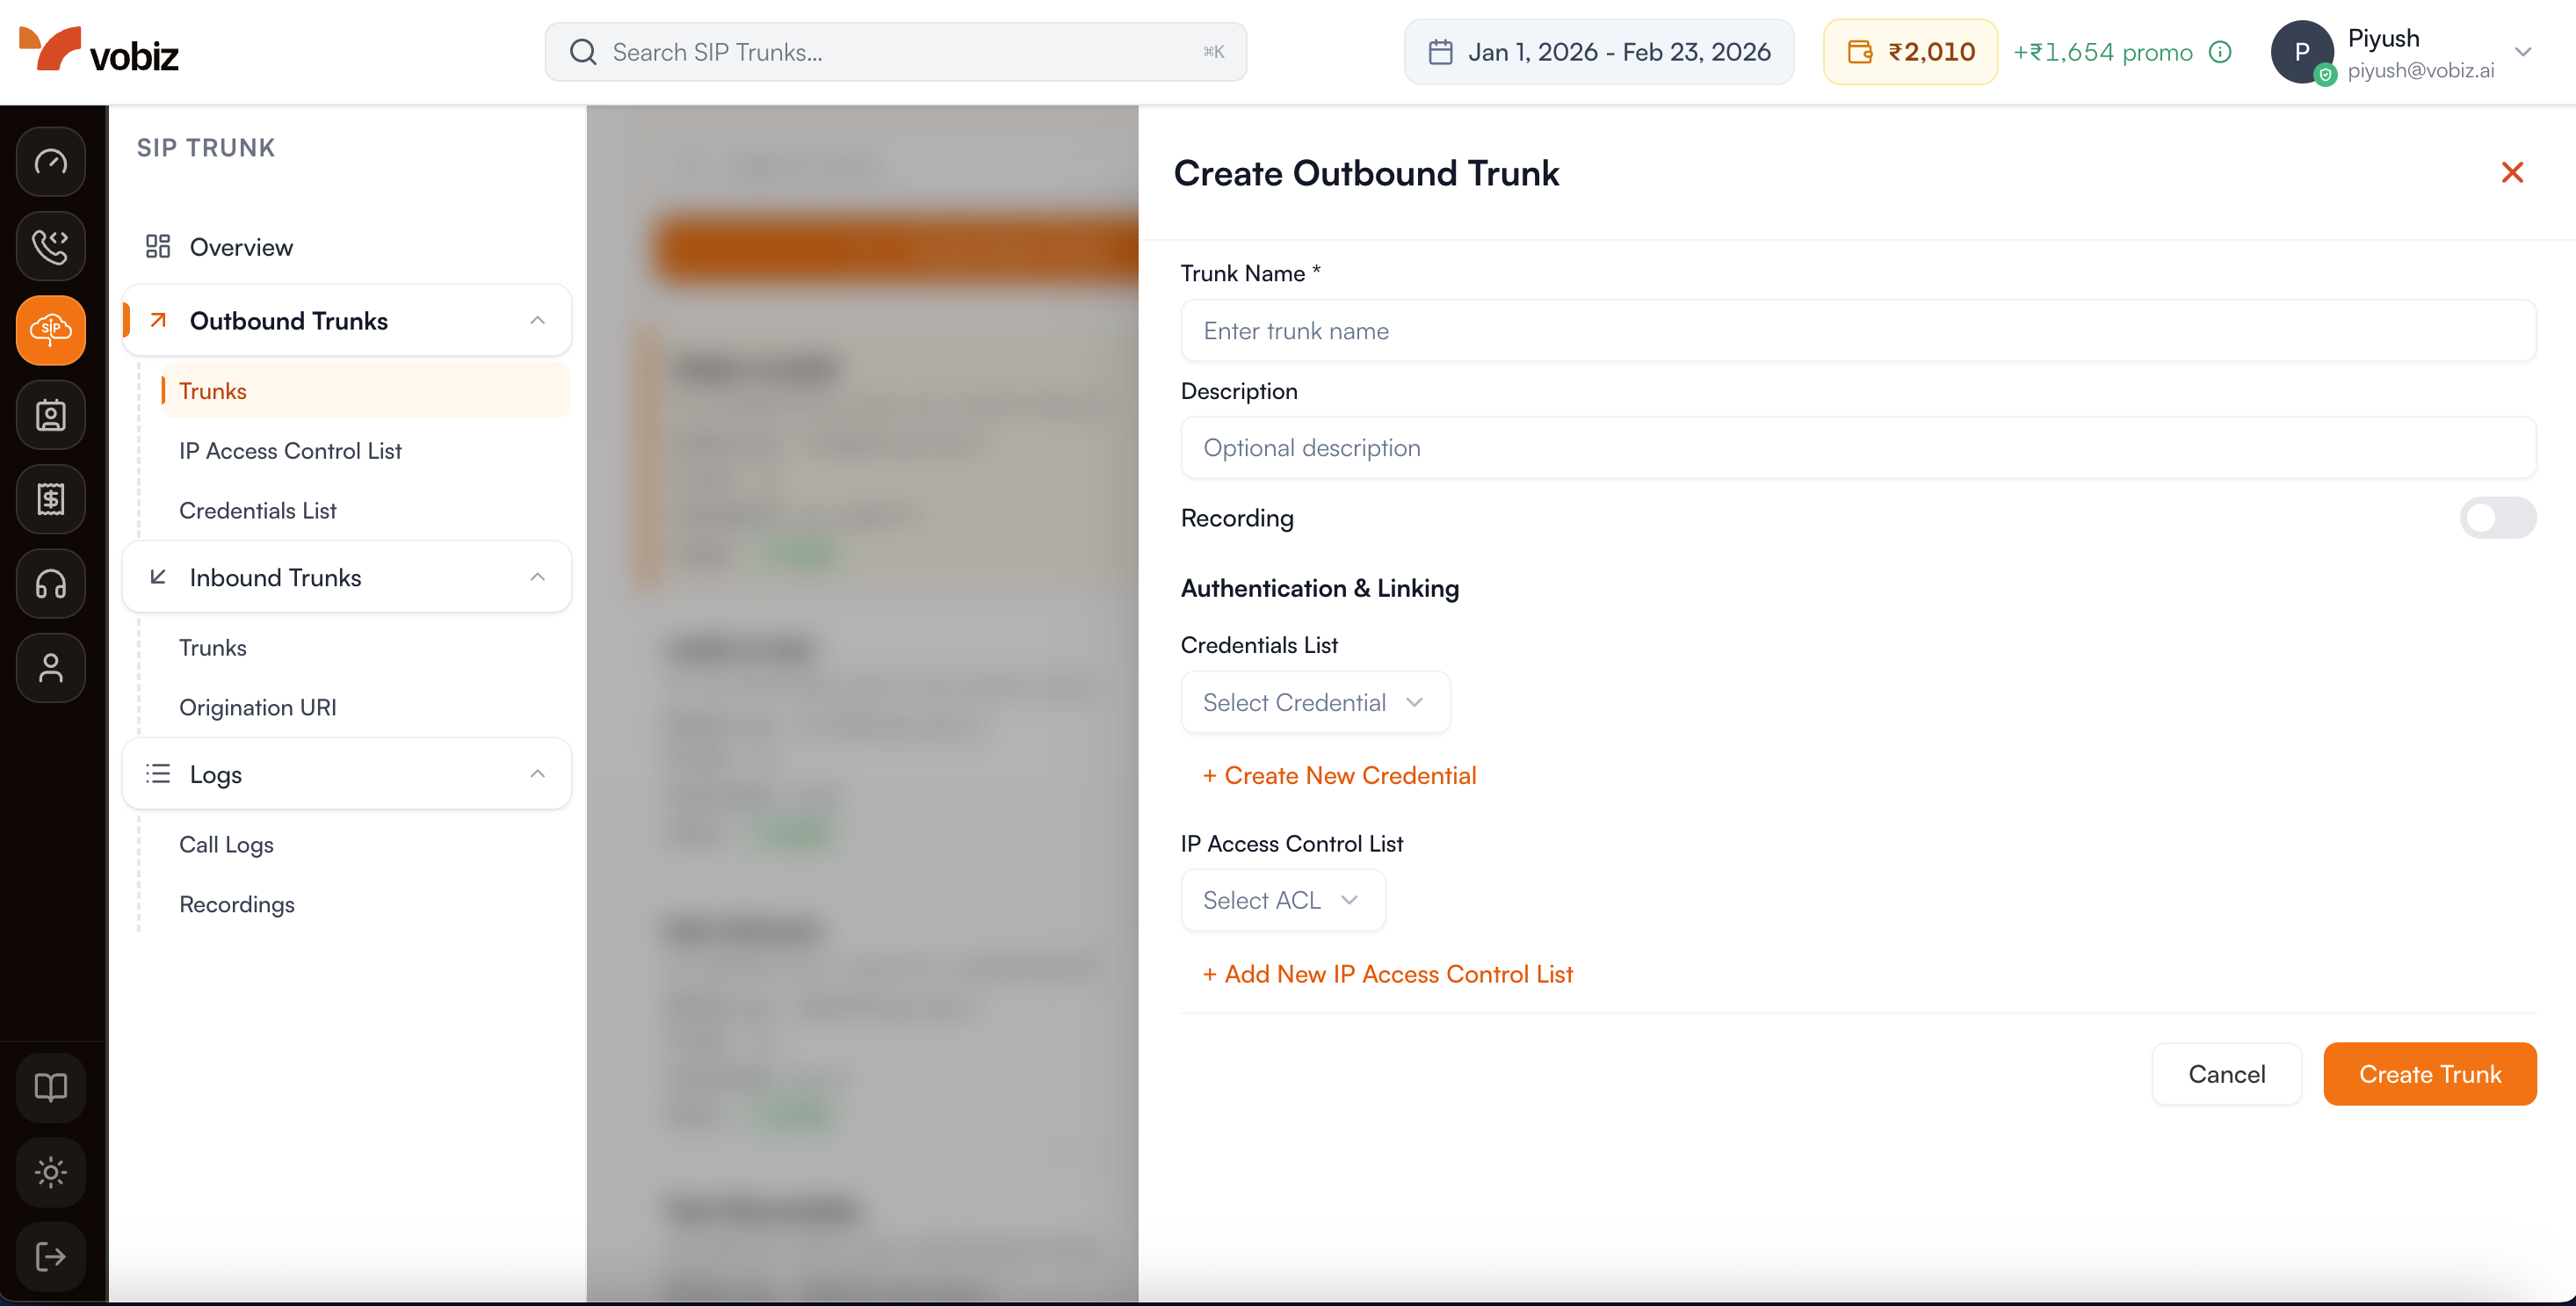
Next, you'll need to create credentials for your outbound trunk. This will ensure that your calls are secure.

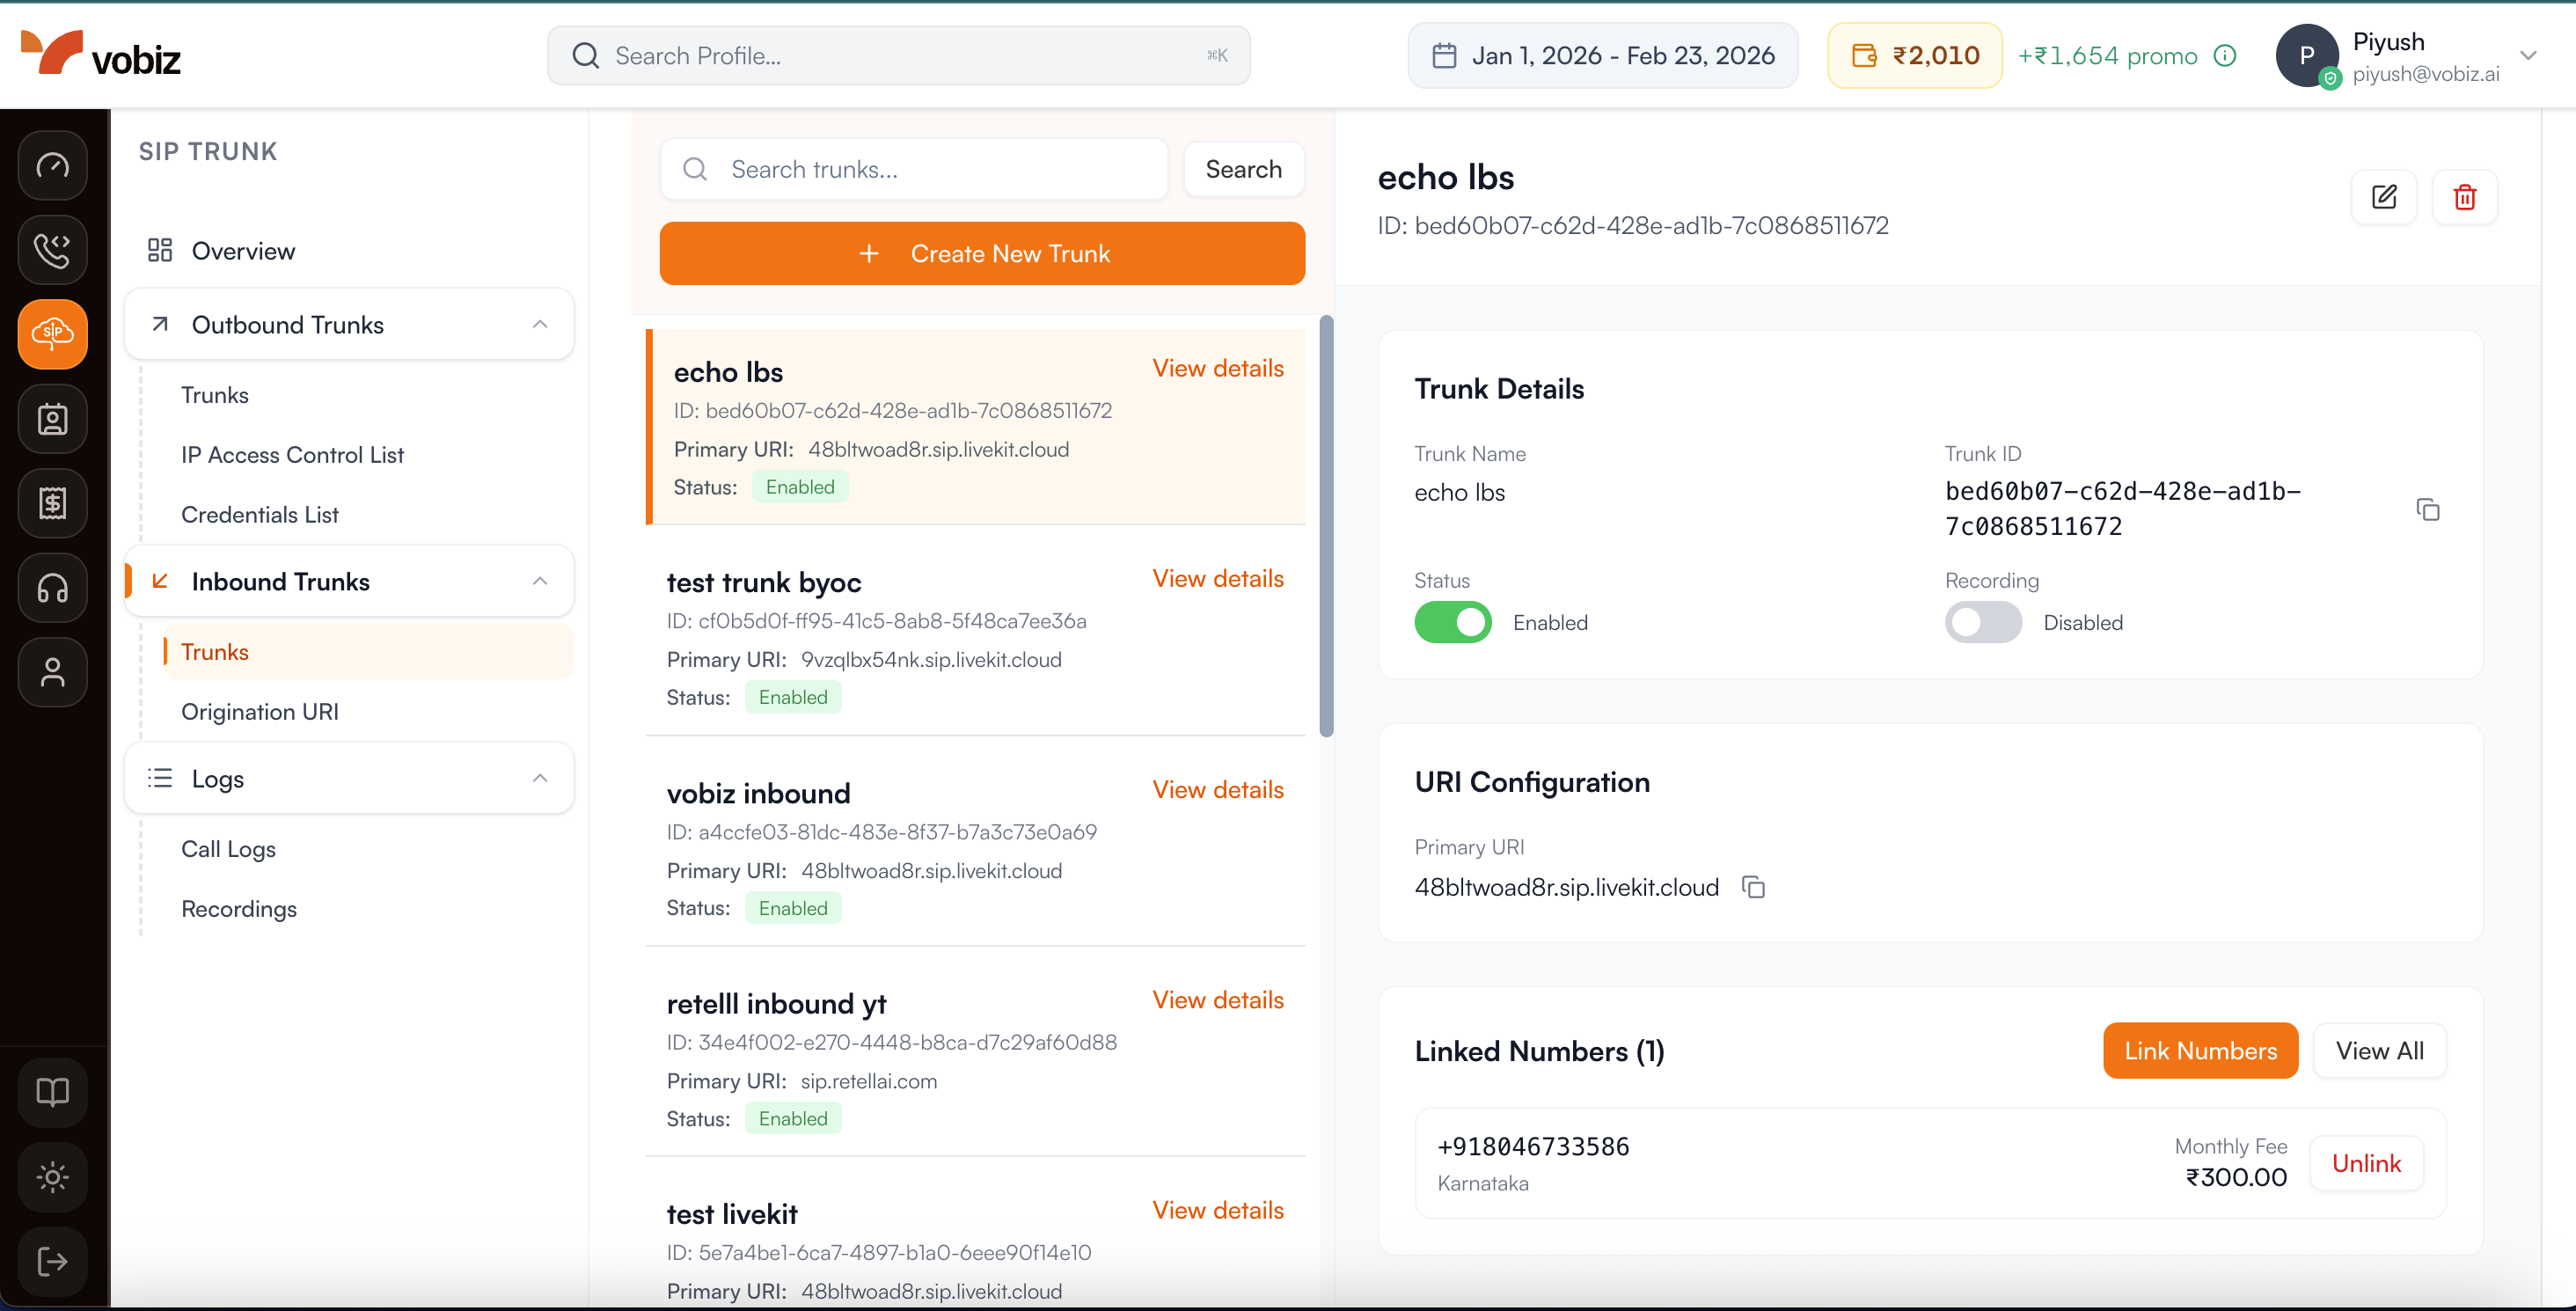
Inbound Trunks
To receive calls, you'll need to link your phone number to an inbound trunk.
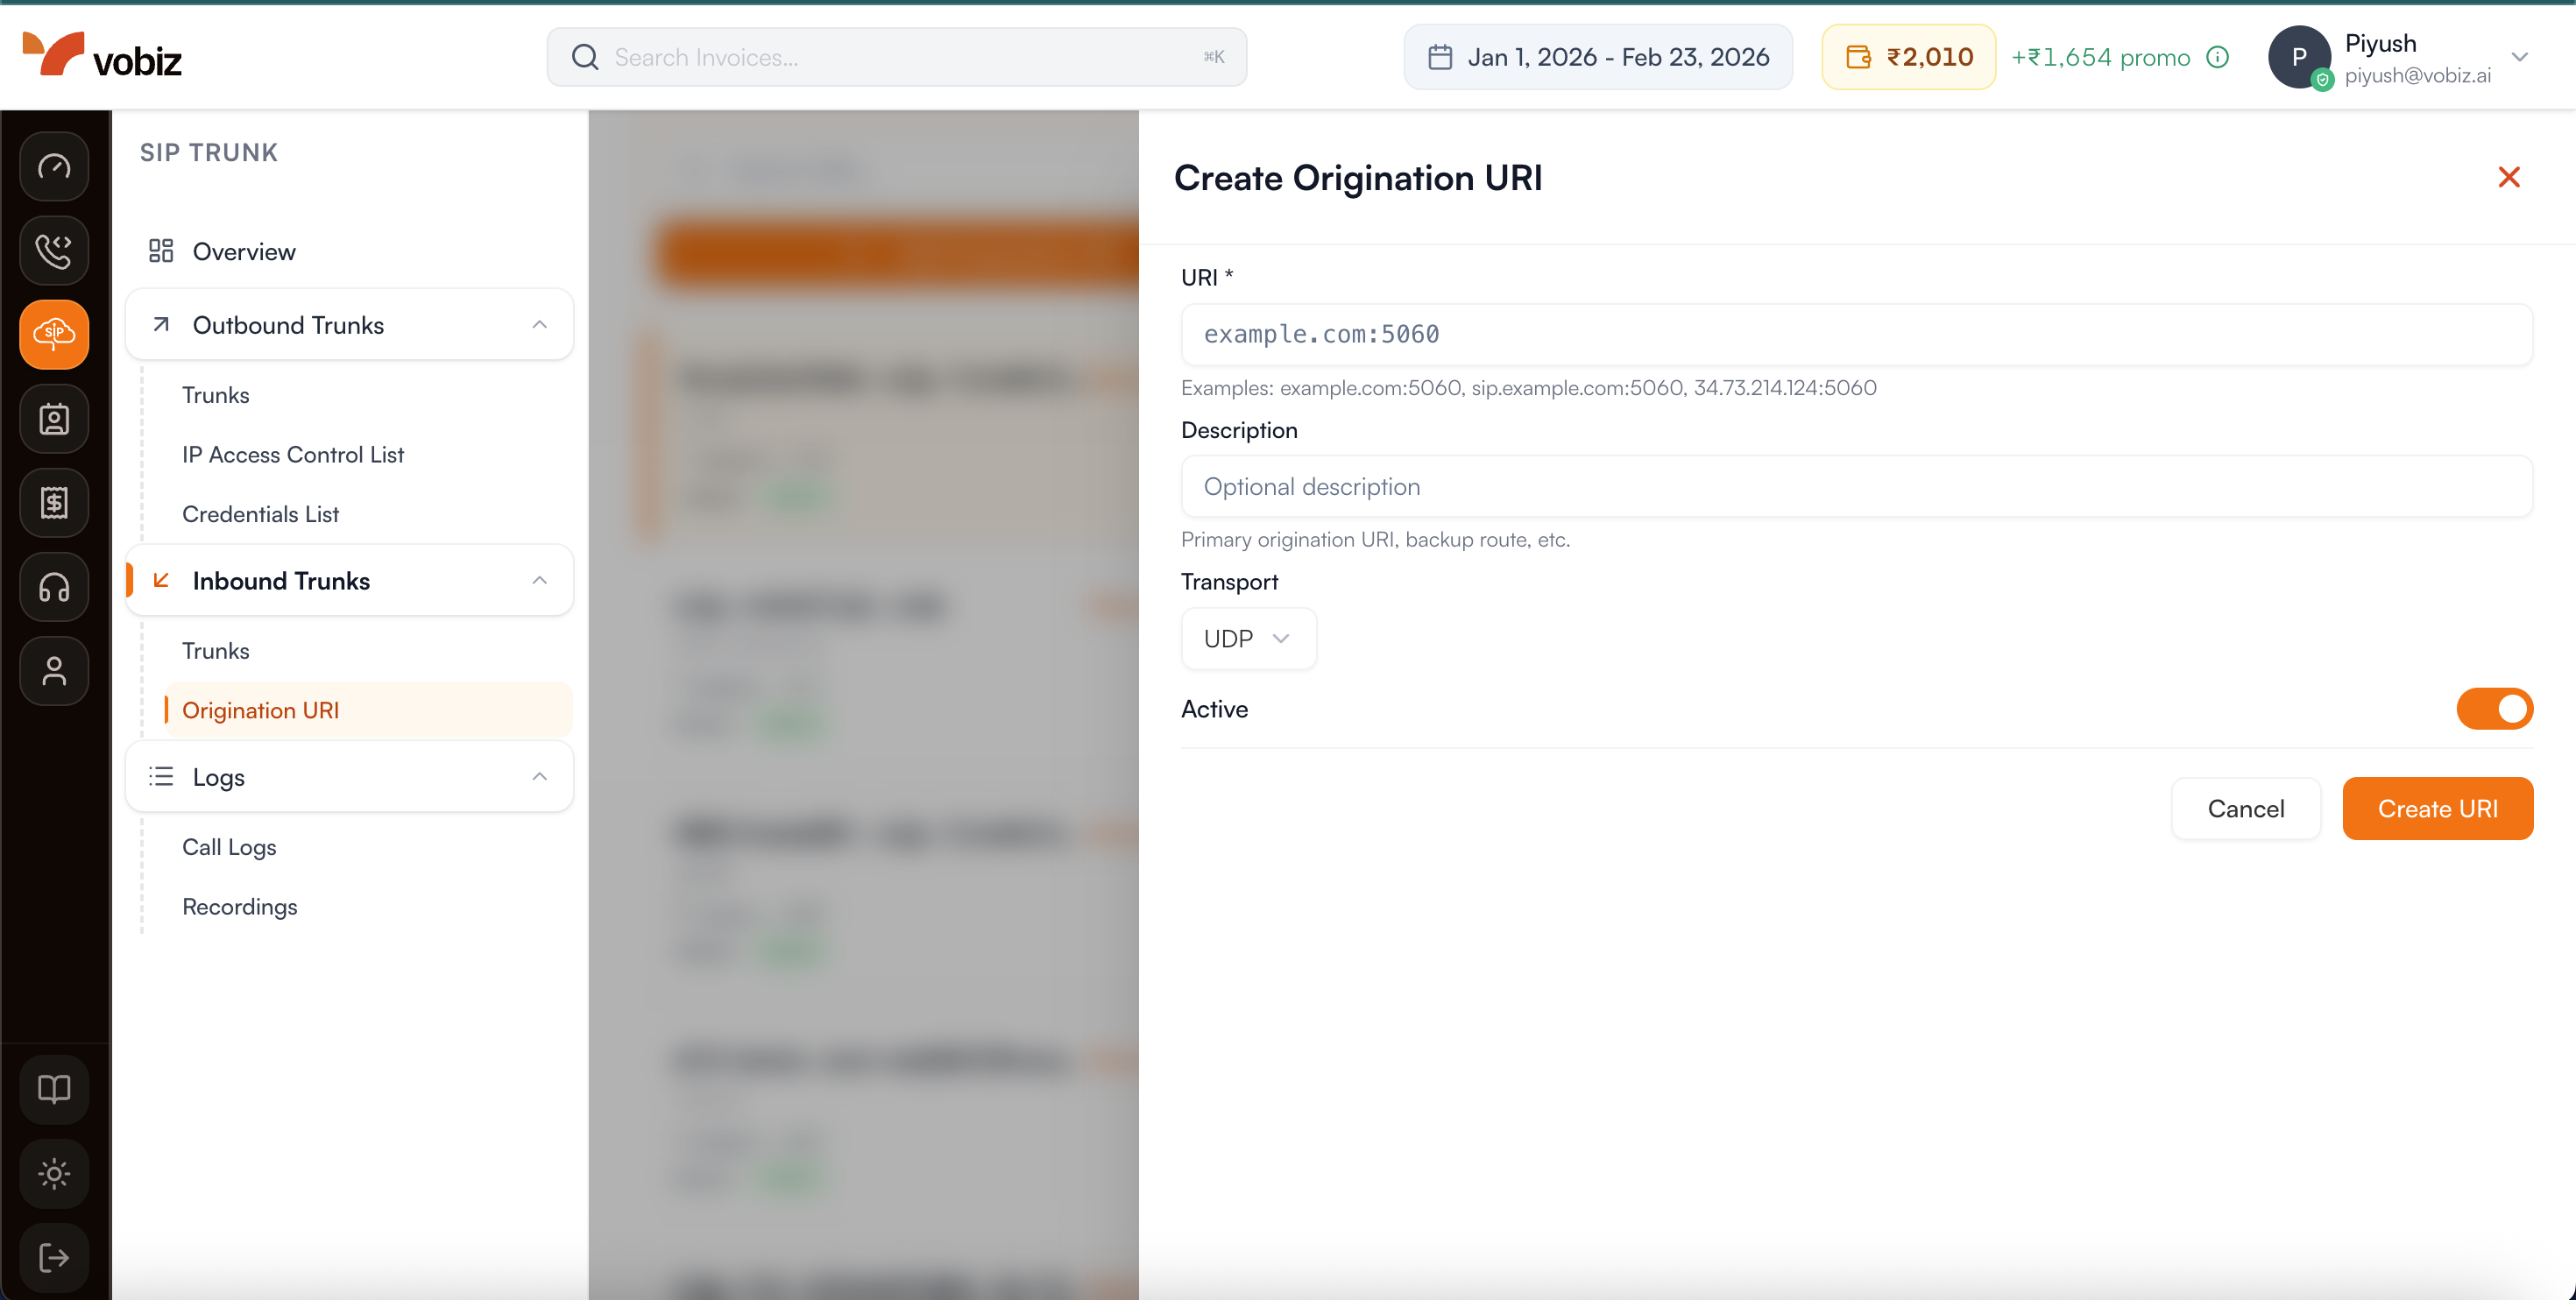
You can also set up an inbound URI to route calls to your own infrastructure.
Step 4.1: Integrations
Vobiz can be integrated with a variety of other platforms to extend its functionality. You can find detailed guides for each integration on our integrations page. Some of our most popular integrations are:
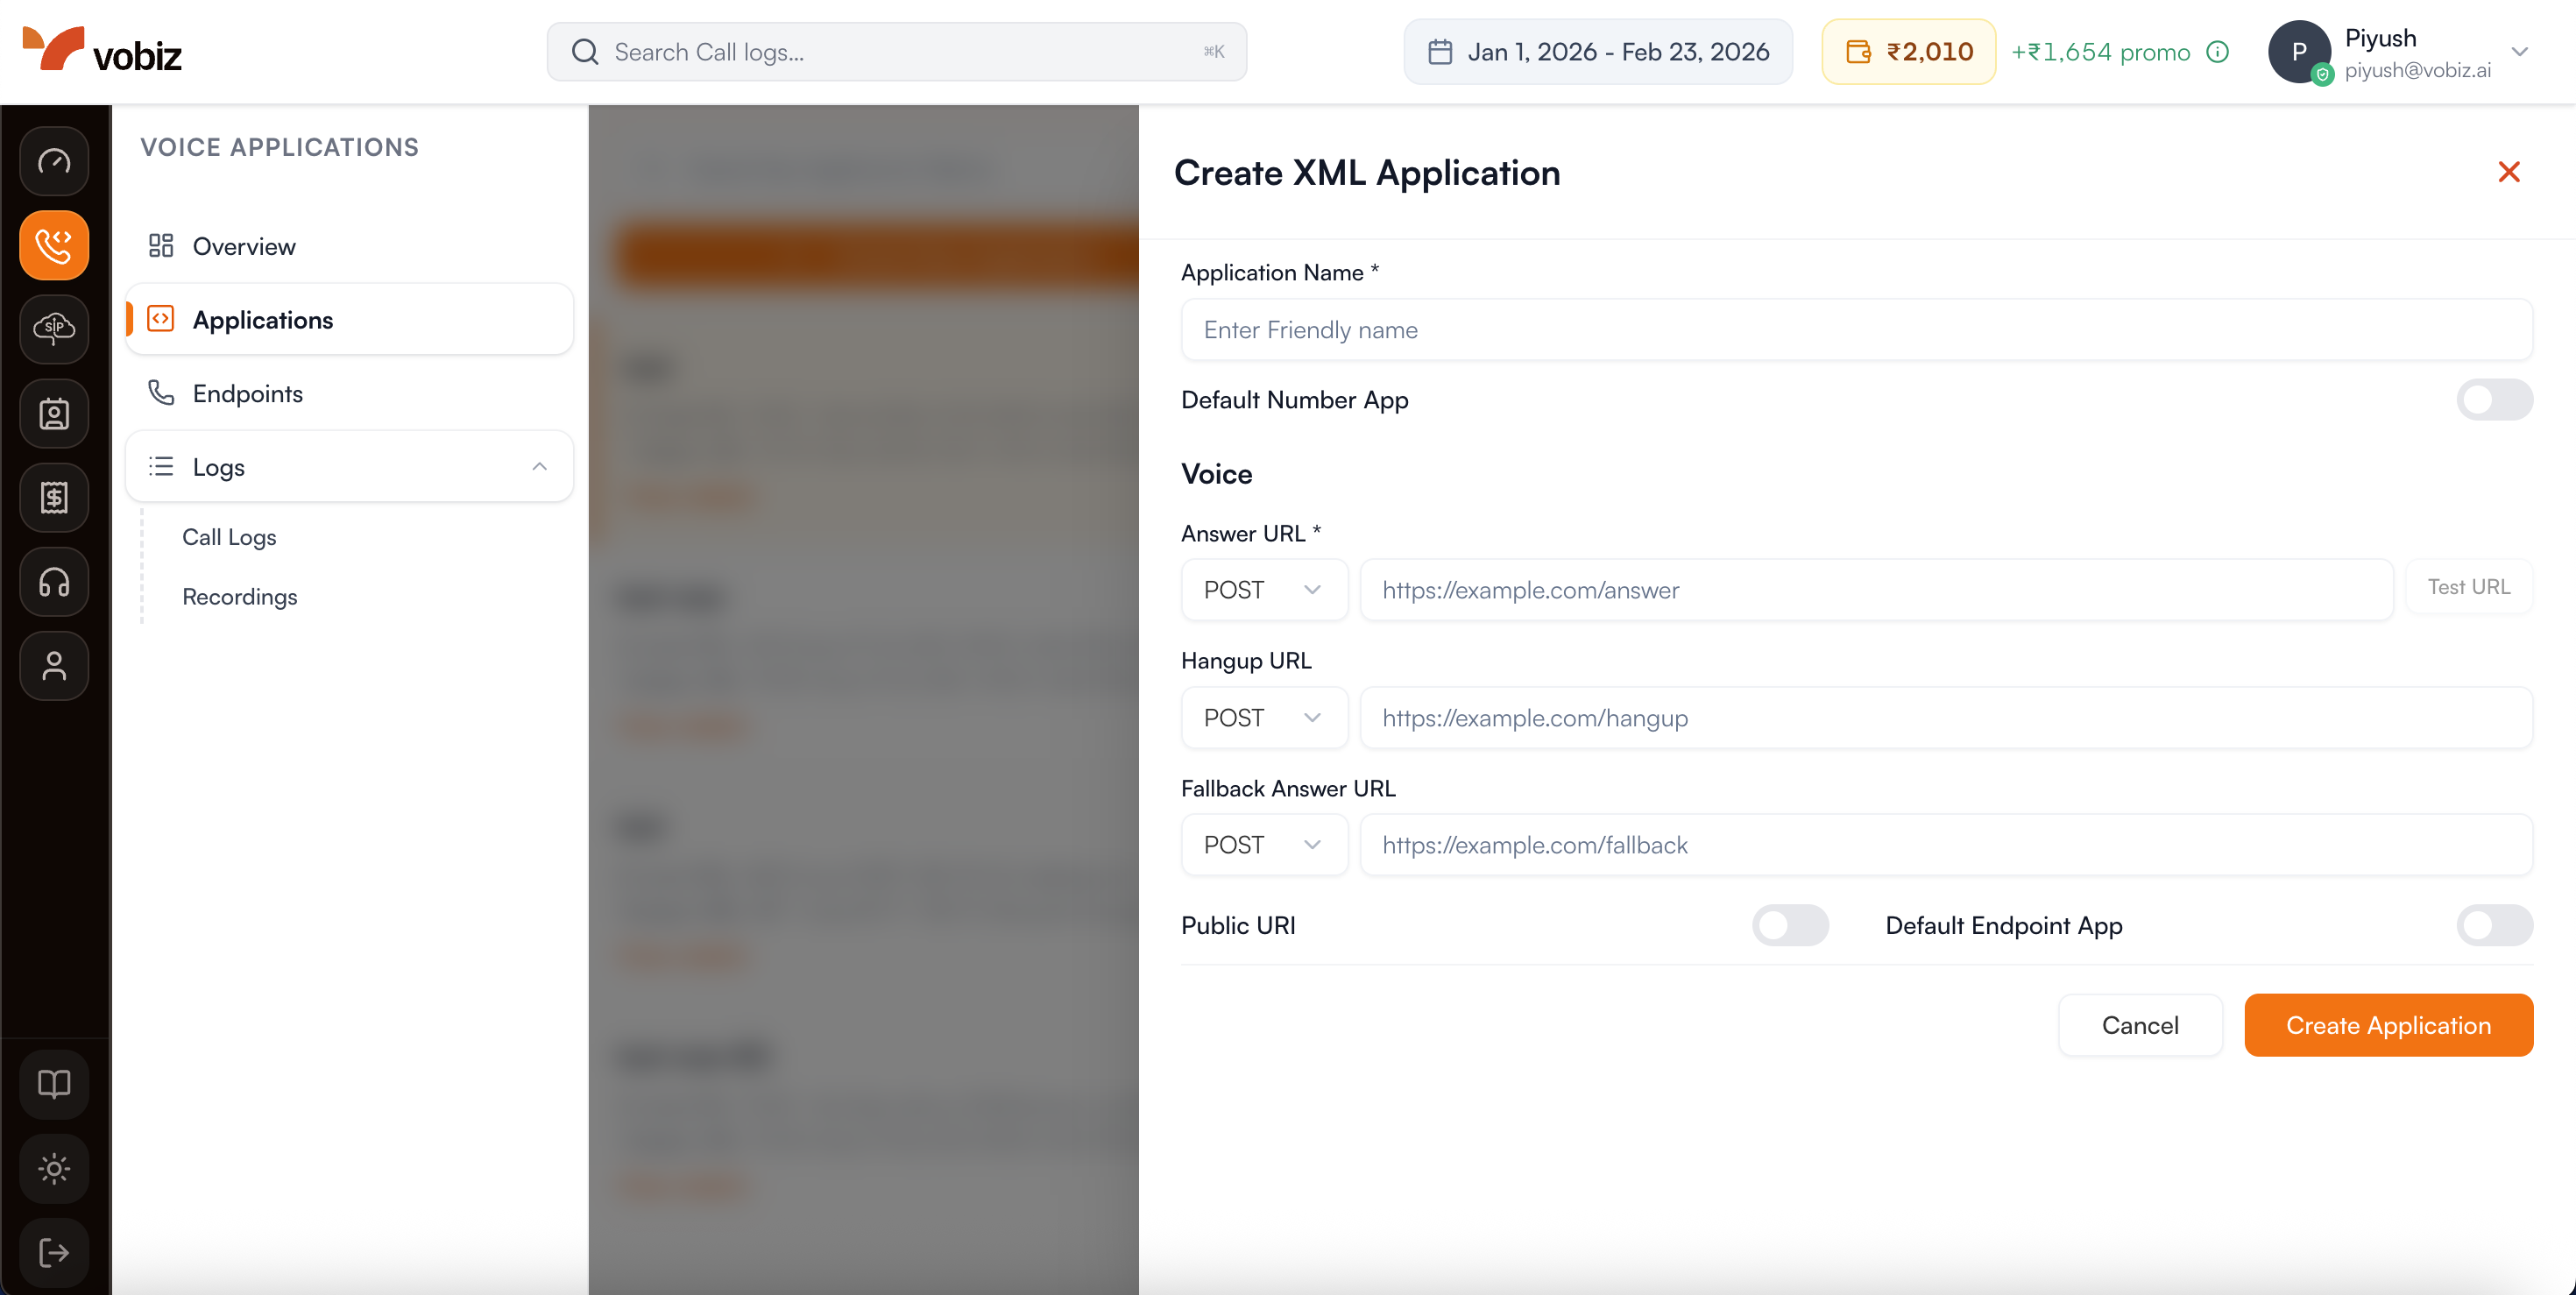
Step 5: Create an XML Application
In the "Voice" section, you can create an XML application to control your call flow. You can configure various URLs to handle different call events.
Tip: Customizing your call flow requires Voice XML. Use our interactive XML Builder to quickly generate the webhook code you need!
After you've configured your application, you can assign your purchased phone number to it. This will link your number to the application's logic, enabling inbound calls.

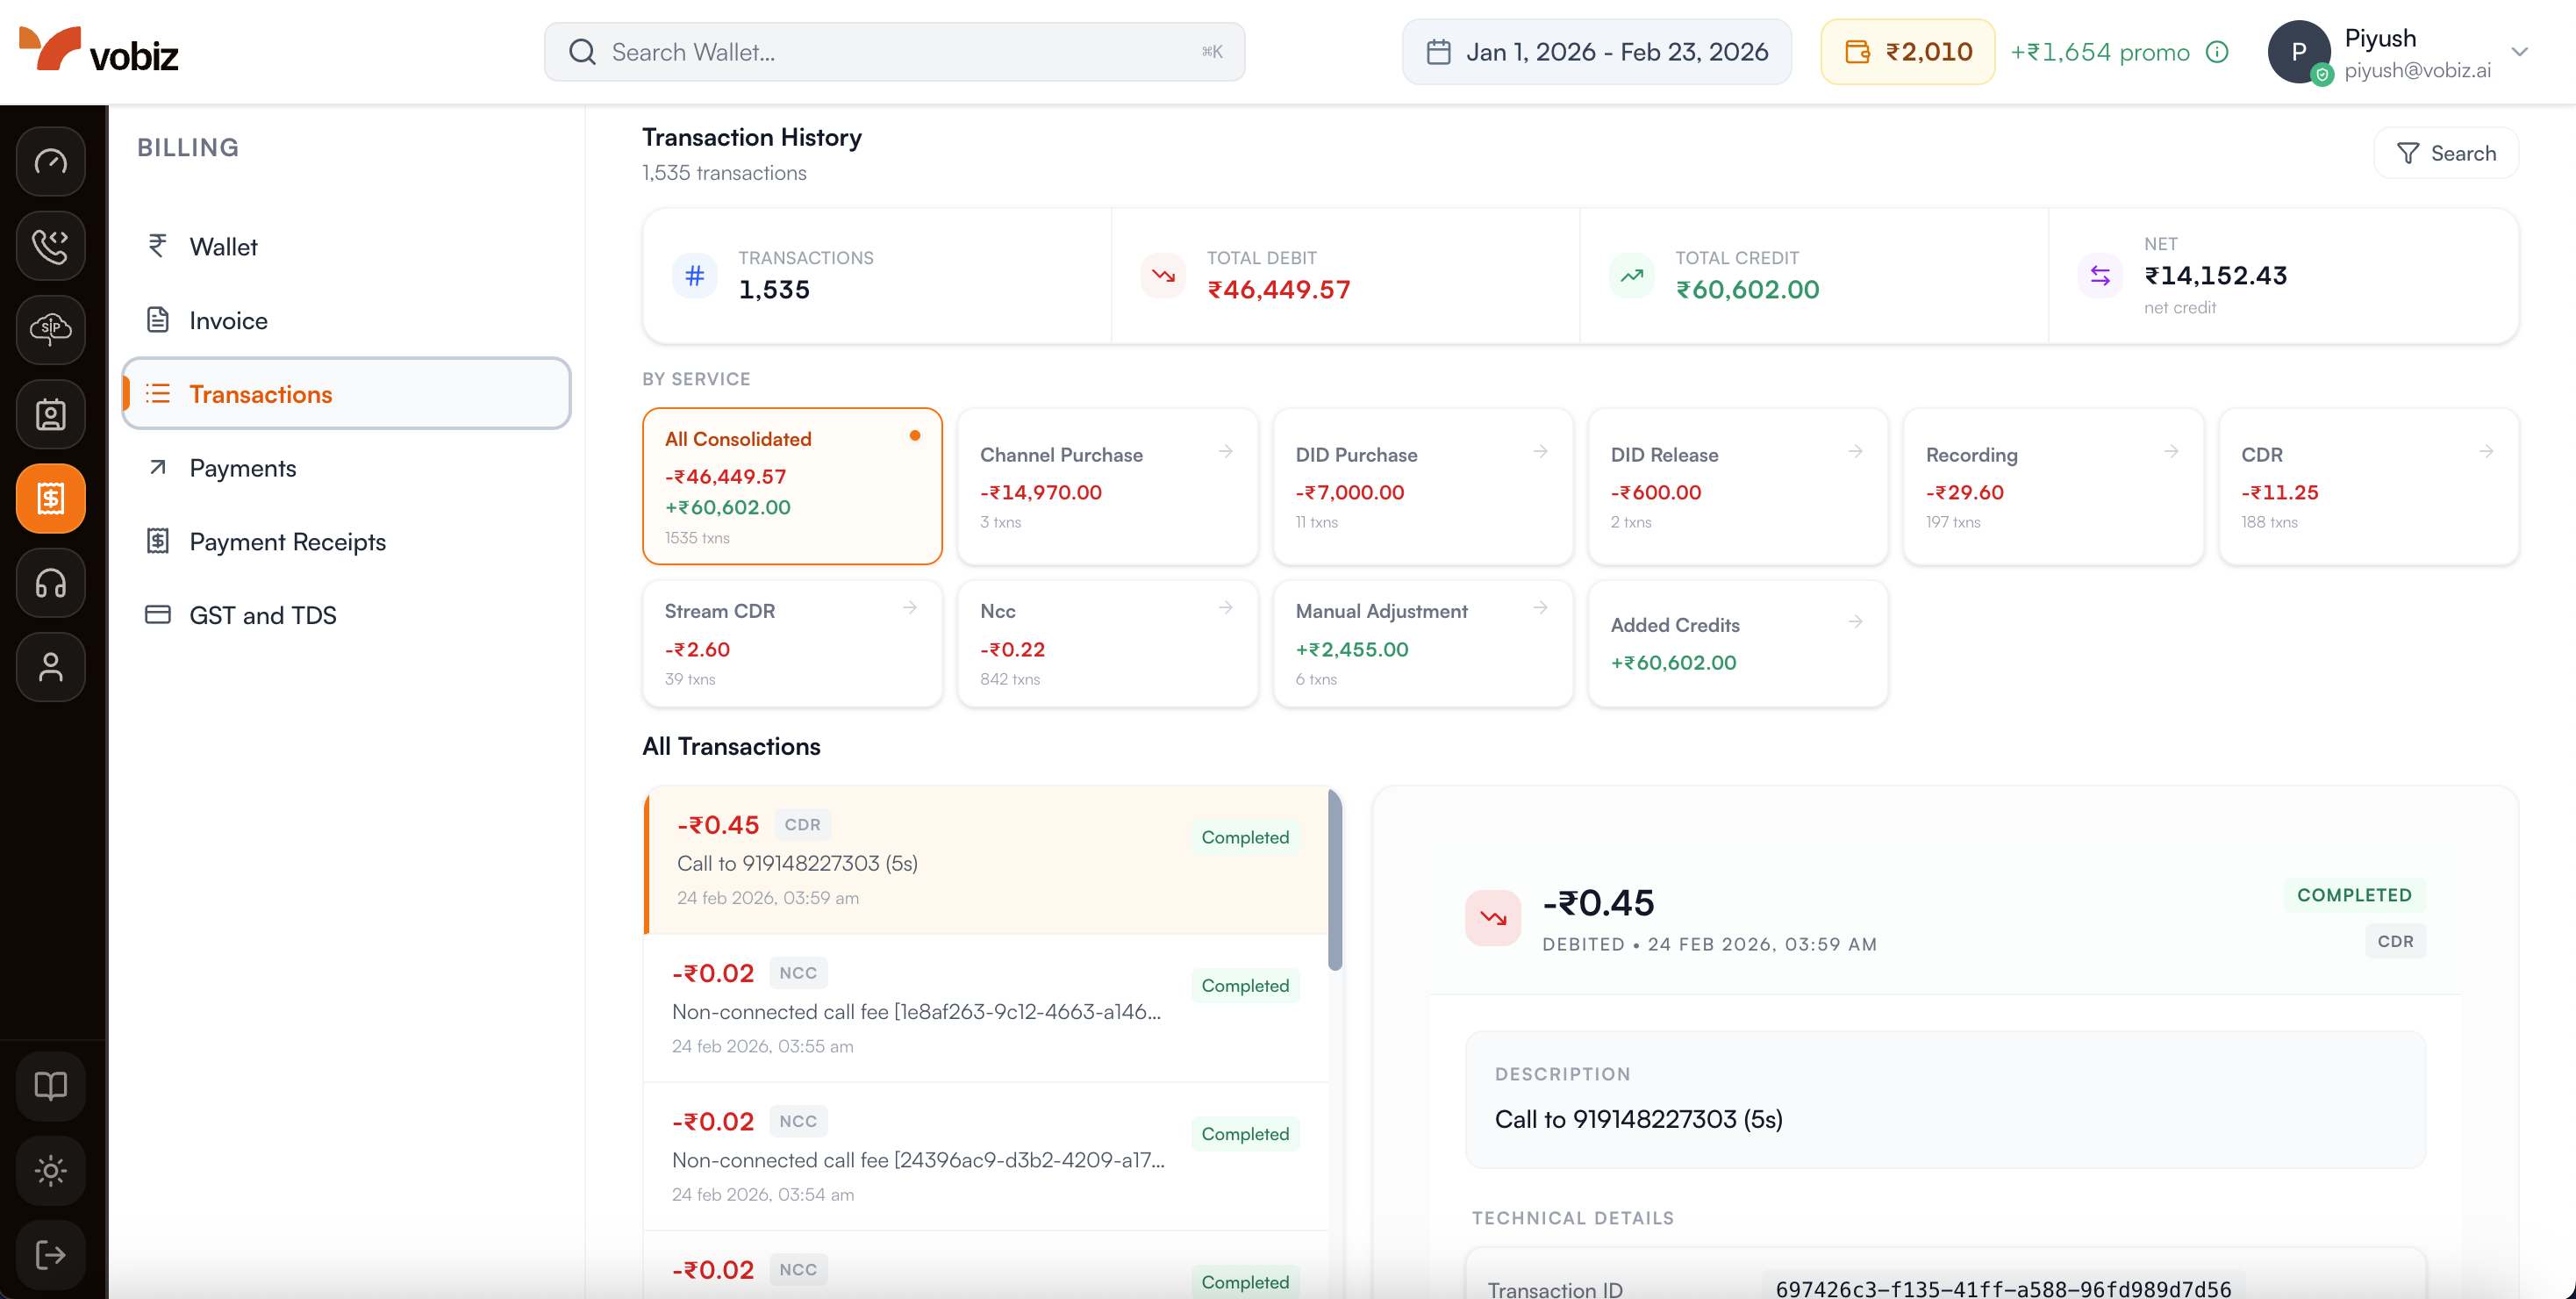
Step 6: View Transactions
You can view all of your transactions in the "Transactions" section. This will show you a history of all the charges and credits to your account.
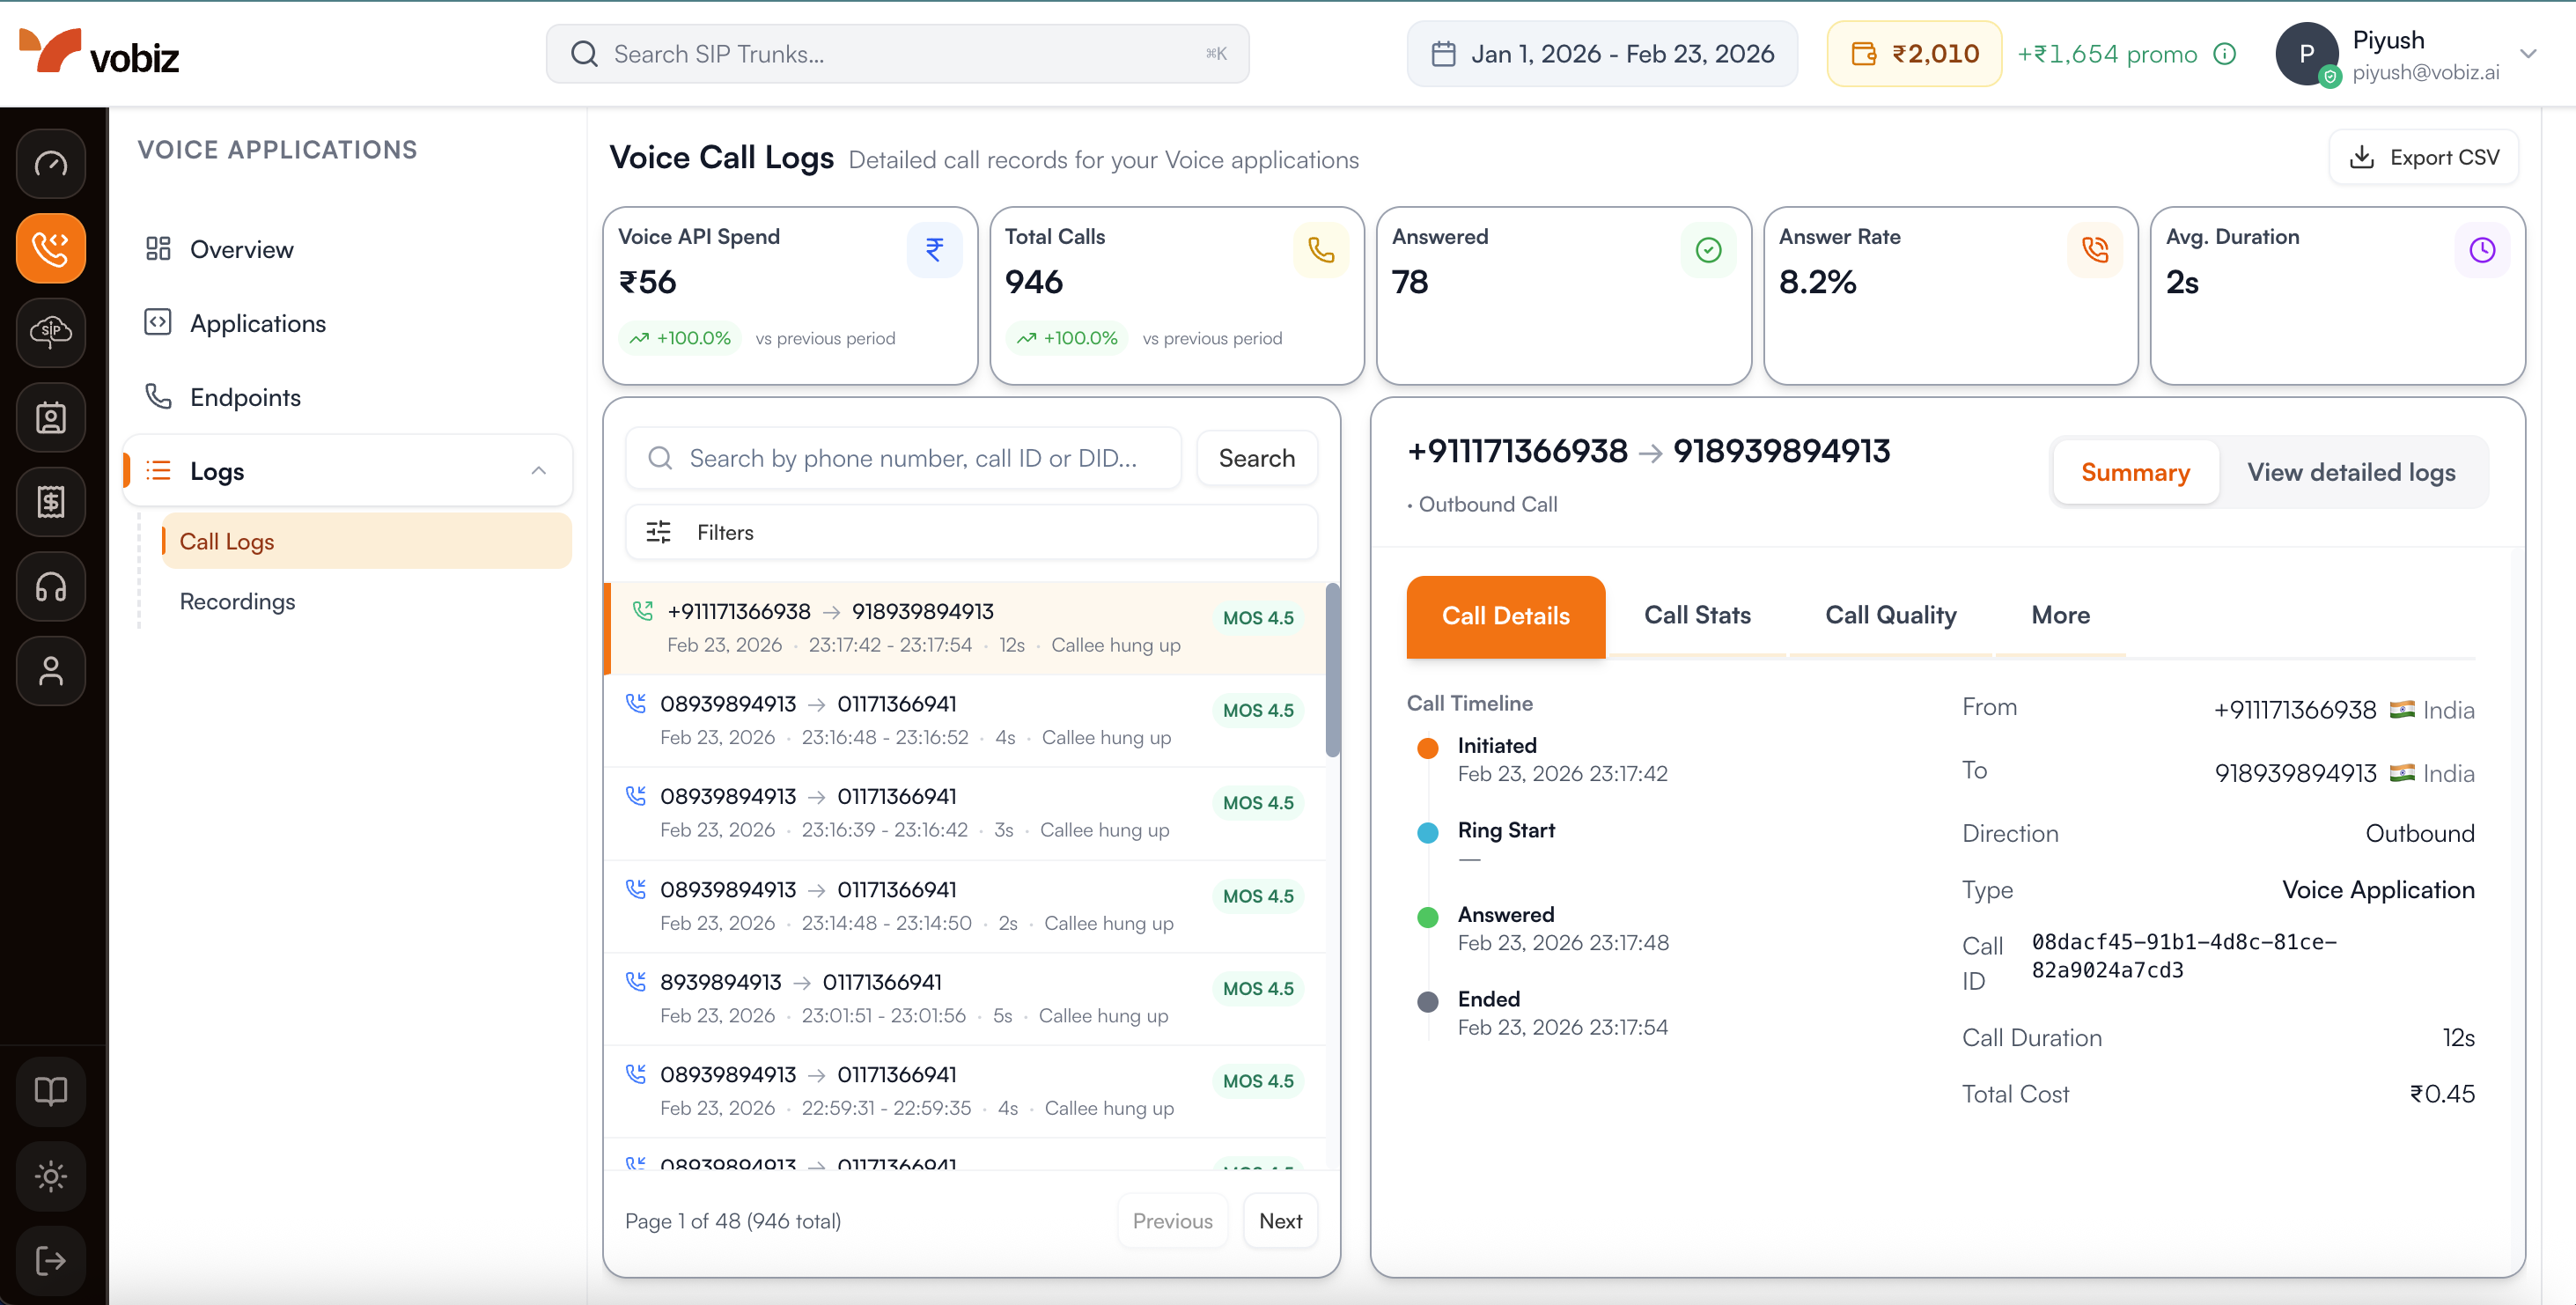
Step 7: View Voice Call Logs
You can view records for calls handled via XML Applications and Voice APIs in the "Voice Call Logs" section. This shows a high-level history of your programmable voice interactions.
Step 8: View Recordings
Manage and listen to your call recordings in the "Recordings" section. You can download or delete recordings as needed.
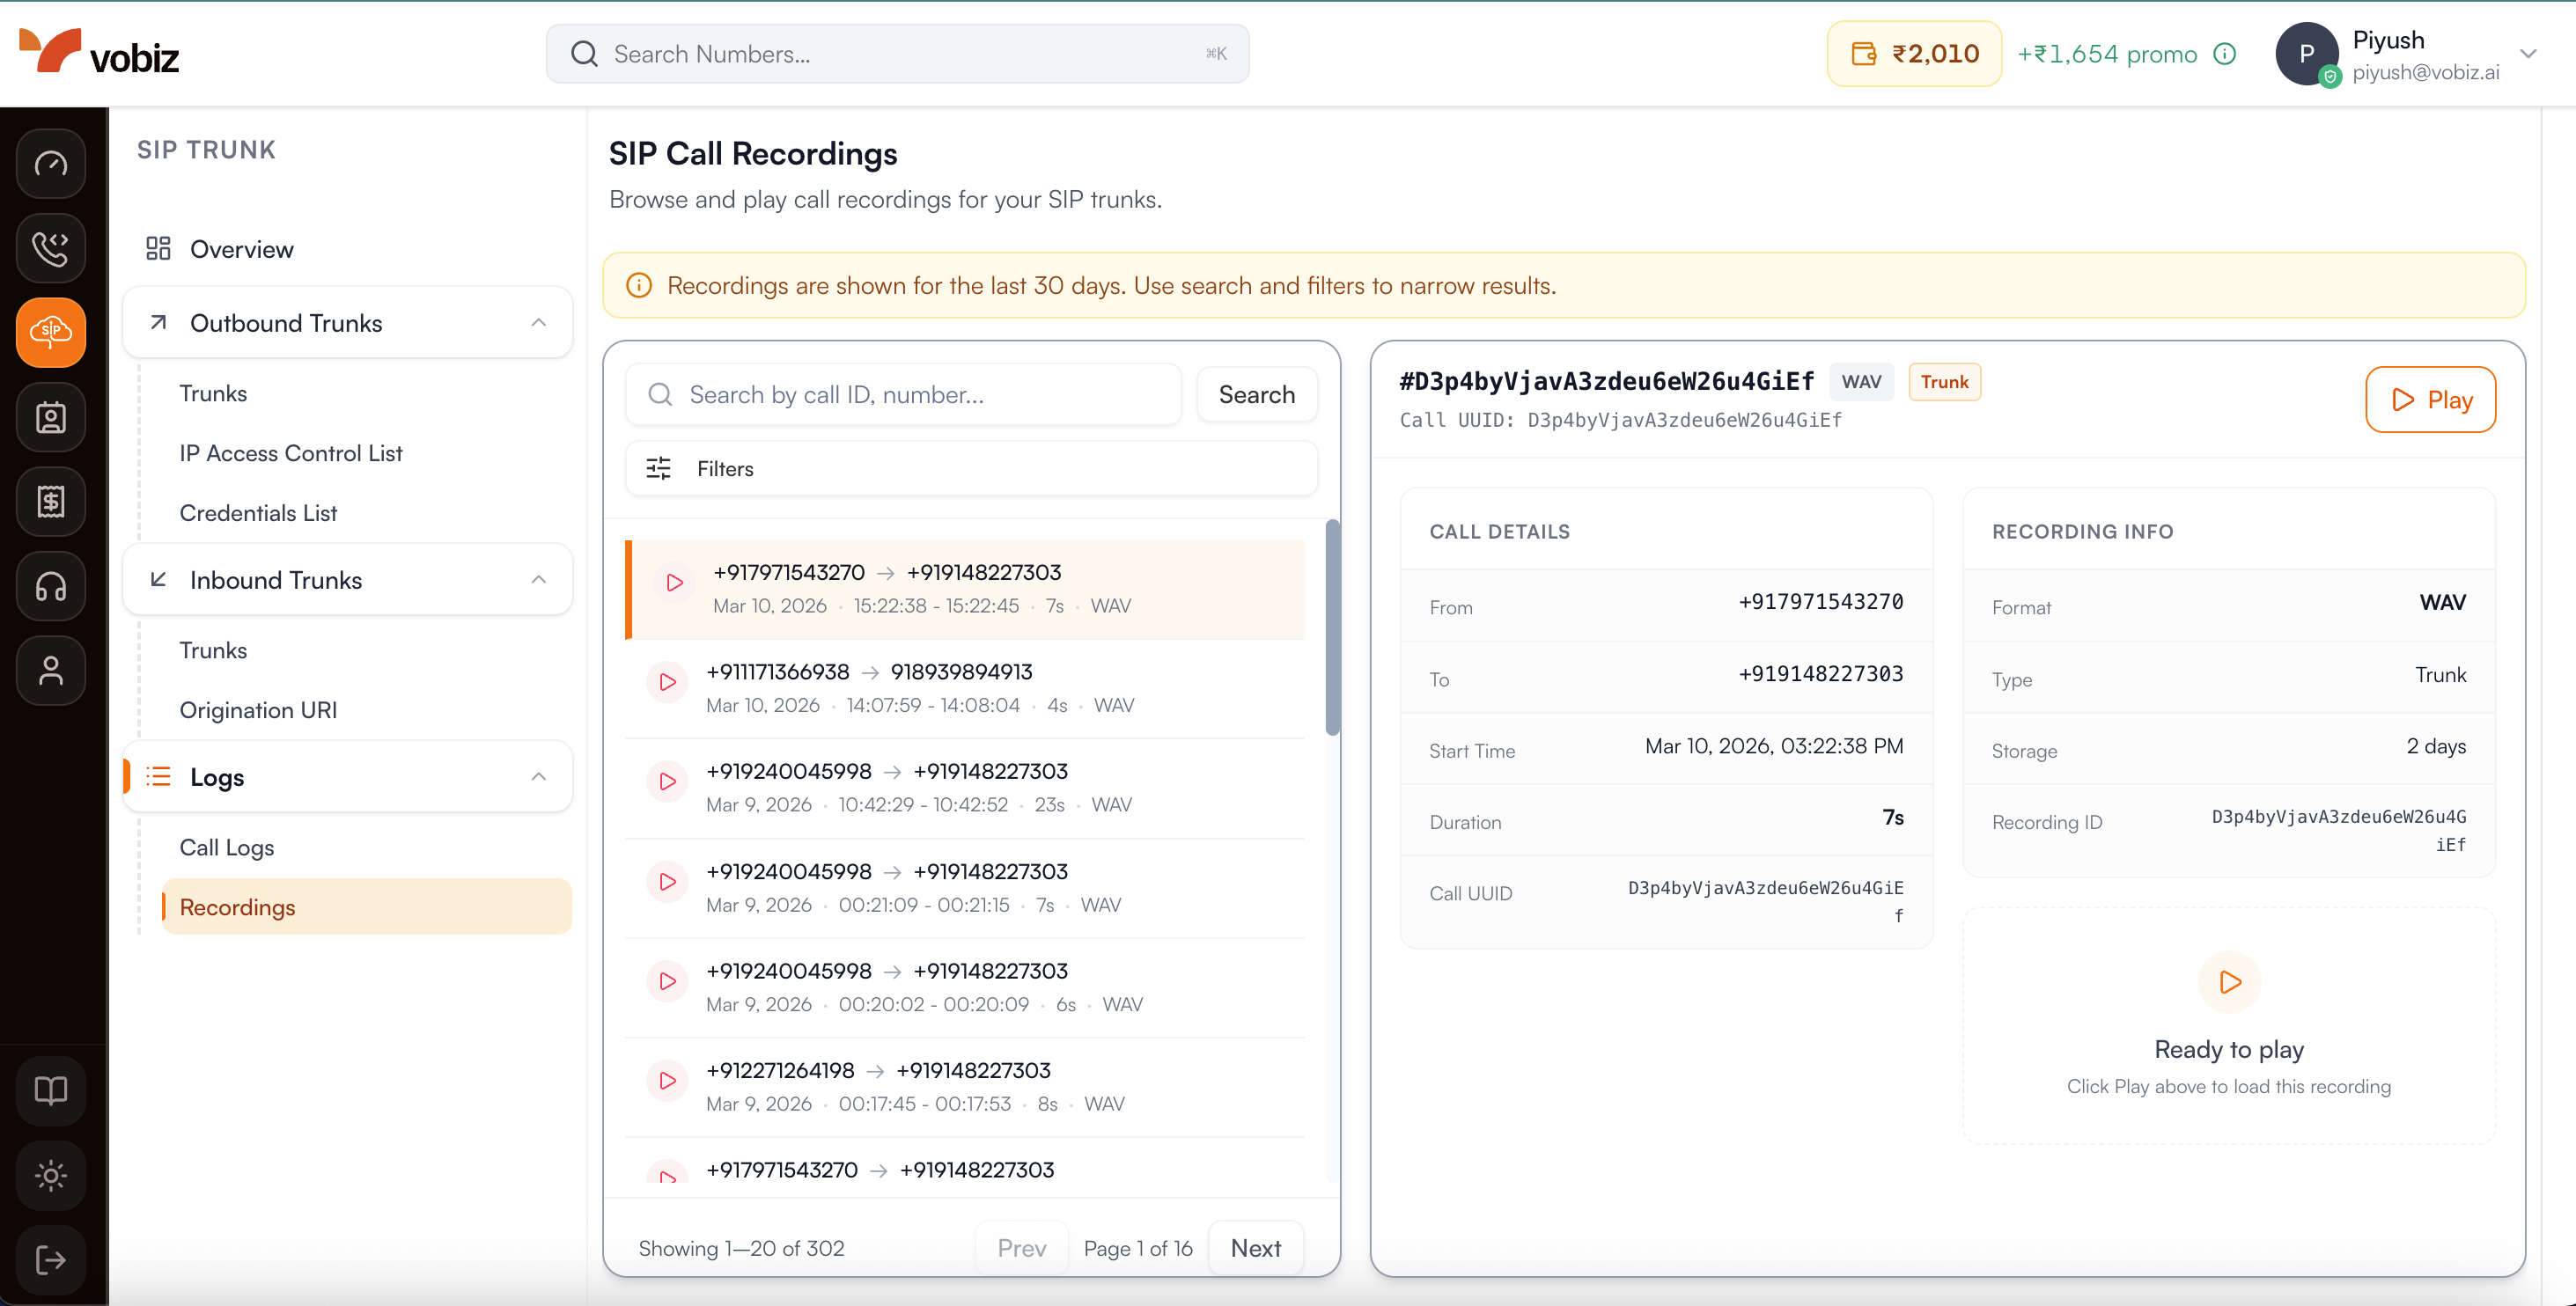
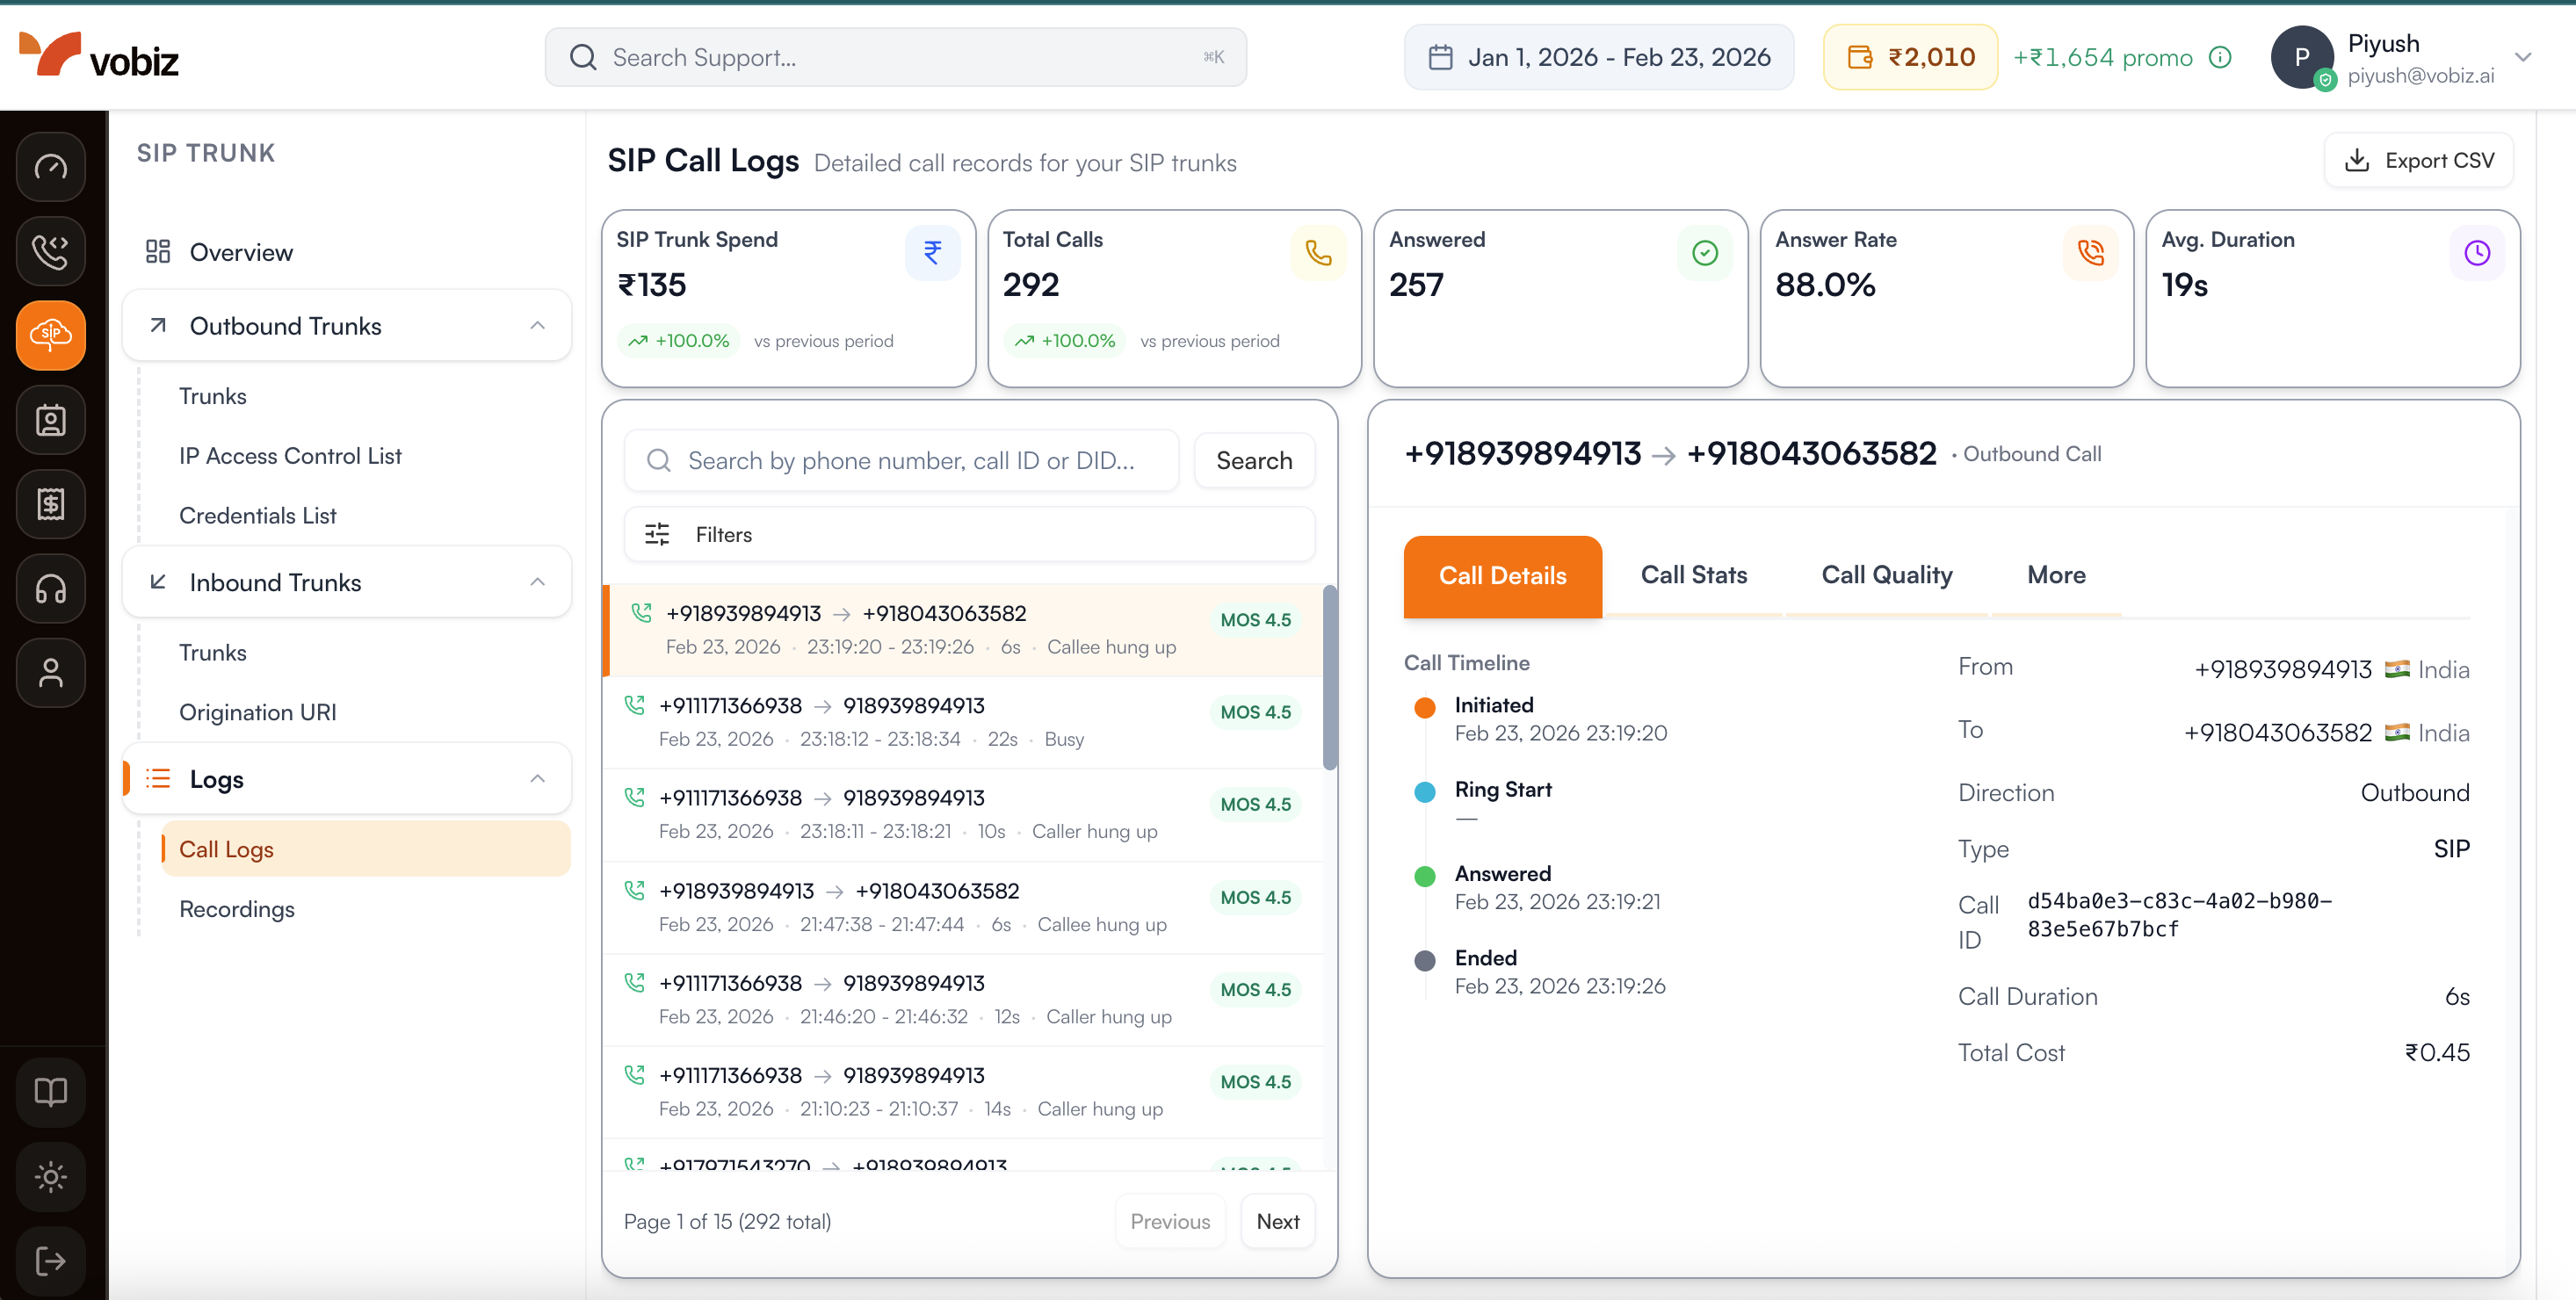
Step 9: View SIP Call Logs
For calls made using SIP Trunking or SIP Endpoints, you should check the "SIP Call Logs" section. This provides low-level technical details and SIP signaling information, which is essential for troubleshooting SIP connections.